Assassin's Creed Black Flag Resynced: Viewpoint Locations & Interactive Tracking Guide
Viewpoints in Assassin's Creed Black Flag Resynced are the 61 synchronisation points scattered across the Caribbean's 46 named locations — the most important collectible category to tackle first on any new island, since syncing each one reveals all nearby collectibles on the map and unlocks Fast Travel to that location.
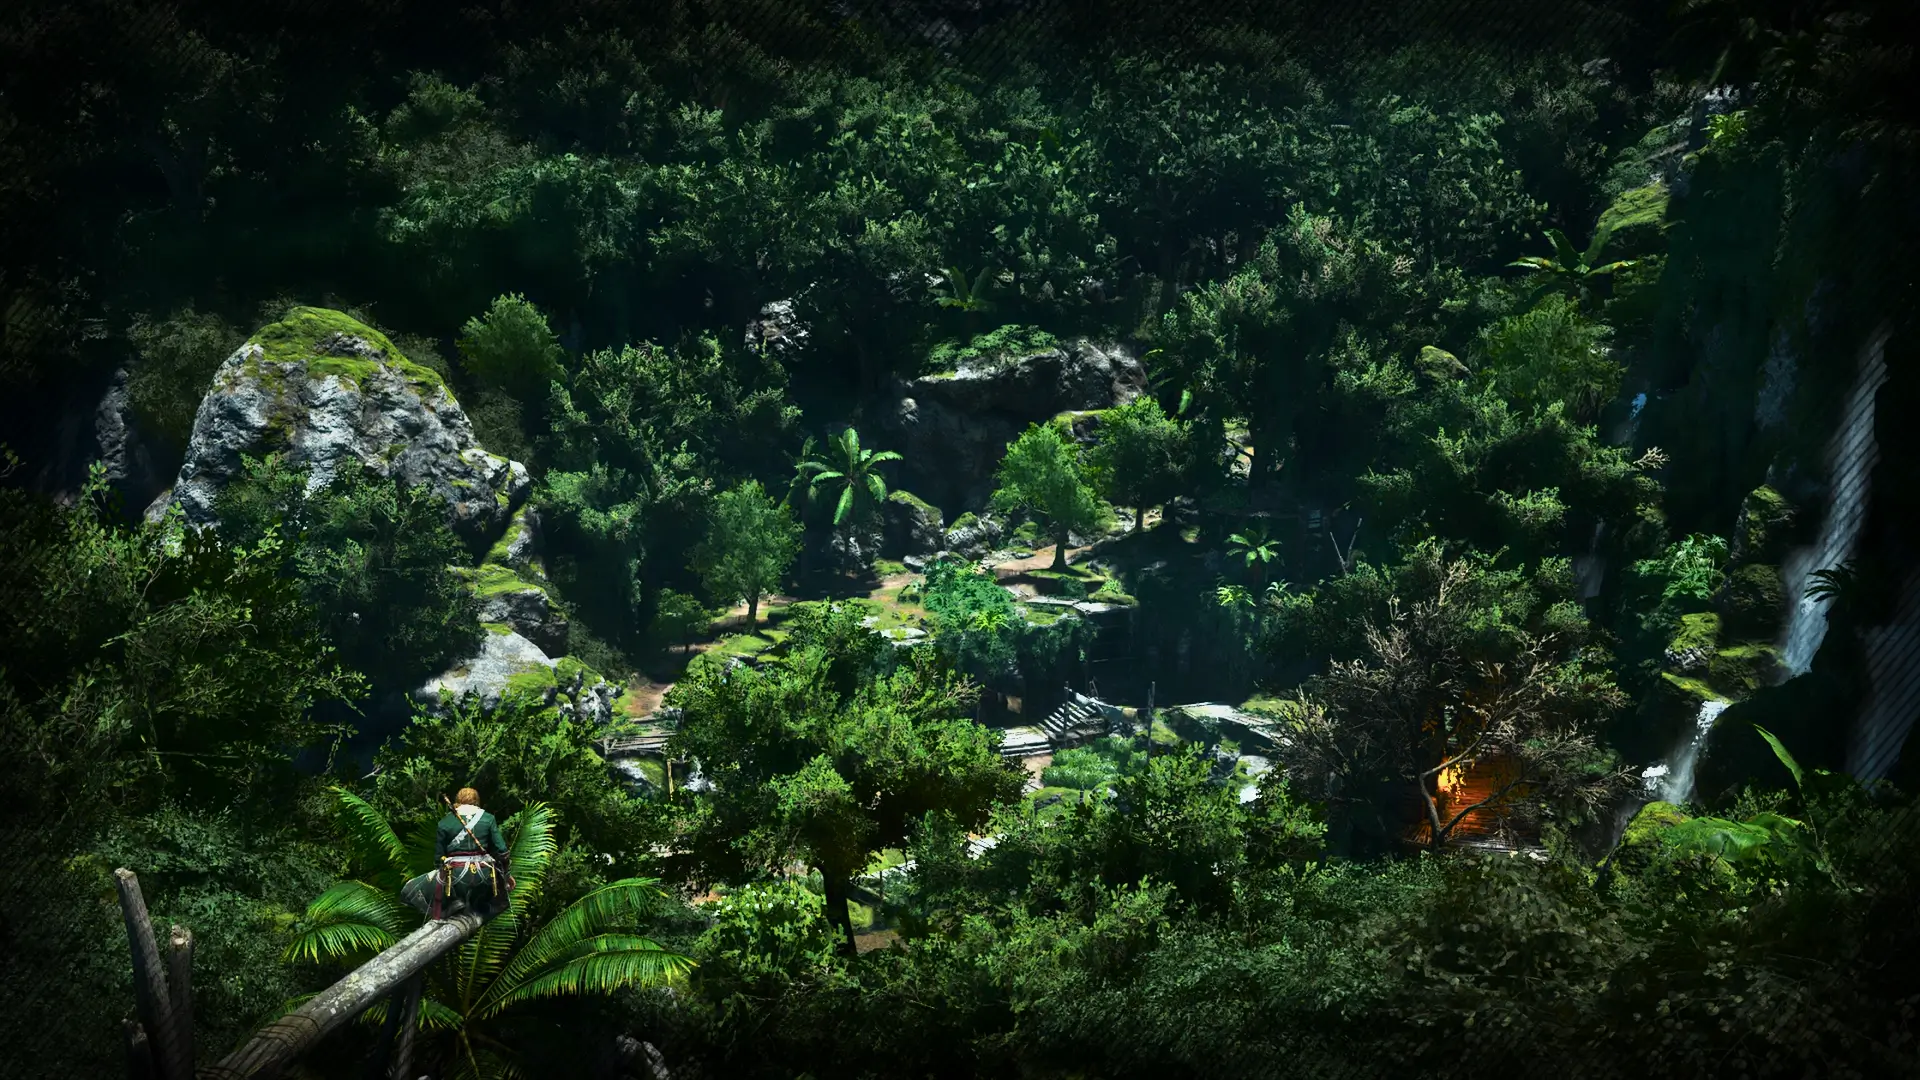
All Viewpoints are fully trackable on our Assassin's Creed Black Flag Resynced maps.
Why Sync Viewpoints First
Every Viewpoint sync reveals the surrounding area's collectibles — Treasure Chests, Song Sheets, Secrets, Codex Entries, and Viewpoints — as icons on the map.
Press D-Pad Down to filter by collectible type and isolate whichever category is being hunted. The one exception: Portraits do not appear from Viewpoints — they only reveal themselves when Edward physically walks near them, regardless of how many Viewpoints have been synced in the region.
Syncing also permanently unlocks Fast Travel to that location on the Caribbean map.
All Viewpoints show as white "?" icons before syncing; they convert to named Fast Travel points afterward. Prioritising Viewpoints at the start of any island visit eliminates all future backtracking for that location's collectibles.
Cartographer Trophy: Viewpoints Are Not Required
"Cartographer" (Silver) — commonly misunderstood as a Viewpoint-completion trophy. It is not. Cartographer requires discovering all 57 "?" location icons on the Caribbean overworld map: 39 named islands, 11 Forts, and 7 Underwater Shipwrecks.
Simply sailing close enough to unlock the Fast Travel prompt on each "?" icon is sufficient — conquering Forts, syncing Viewpoints, or clearing collectibles is not required.
The 7 Underwater Shipwrecks require using the Diving Bell to enter, which becomes accessible from Sequence 6.
Two locations are hidden beneath quest icons on the map: Caracol (Punta Guarico region) and Cayman Sound (Castillo de Jagua area). Eleven locations are gated behind story progress.
"Owned" Trophy: Start With Abaco Island
"Owned" (Silver) — reach 100% completion on any single location. Abaco Island is the easiest location in the game to 100% — only 7 collectibles total (1 Viewpoint, 1 Chest, 2 Secrets, 1 Treasure Map, 1 Animus Key, 2 Animals).
Sync the Abaco Viewpoint first to reveal all remaining collectibles, then sweep the island in one visit.
Two Story-Automatic Viewpoints
Cape Bonavista Viewpoint #1 — synchronised automatically while chasing the Assassin during the "Edward Kenway" prologue quest (climb the mast mid-chase and synchronise).
Havana Viewpoint #1 — synchronised as a mandatory step during the "Lively Havana" quest (Sequence 2). Climb the tower and synchronise from the wooden beam as part of the quest objective.
| Name | Map Location | Details | Screenshot | Found |
|---|---|---|---|---|
| Cumberland Bay ViewpointCumberland Bay | Cumberland Bay | The only viewpoint on Cumberland Bay is found on the northeastern side of the island. Look for it halfway up the tall ship mast. | ||
| Principe Viewpoint #2Principe | Principe | The second viewpoint in Príncipe is located on top of a guard tower along the northwestern perimeter of the large Portuguese Camp. Look for the tower near the edge of the cliffs, just before the steep drop-off overlooking the coastal area. Climb to the top of the tower to synchronize the viewpoint. Viewpoint Coordinates: 110, 18 | ||
| Pinos Isle ViewpointPinos Isle | Pinos Isle | The Pinos Isle Viewpoint is found on the western side of the region. Look for it on top of the large Mayan temple. Climb to the top and synchronize it to reveal everything Pinos Isle has to offer. | ||
| Santanillas ViewpointSantanillas | Santanillas | The Santanillas Viewpoint is located on the southwestern side of the island, on top of the Mayan Temple. Climb the tallest pillar and synchronize it to discover the island and its secrets. | ||
| Tulum Viewpoint #1Tulum | Tulum | The first viewpoint in Tulum is found by the southeastern beach, on top of a shipwreck's bowsprit. Climb to the top and synchronize it when you visit Tulum for the first time. | ||
| Tulum Viewpoint #2Tulum | Tulum | The second Virepoint in Tulum is on top of a Mayan Tower, on the northern side of the ruins. You can synchronize it during your first visit to this area during the quest "Overrun and Outnumbered," but only once you've gotten to the point that the area is introduced. | ||
| Viewpoint - Long Bay #1Long Bay | Long Bay | The first viewpoint in Long Bay is located in the western cove, atop the exposed mast of a sunken ship. Head to the western cove along the island’s shoreline. Locate the sunken ship’s mast protruding from the water near the shore. Climb to the end of the mast to reach the synchronization point. | ||
| Kingston Viewpoint #4Kingston | Kingston | The fourth viewpoint in Kingston is found on the northern side of the city. Climb the tower in the courtyard of the northern warehouse and synchronize it. | ||
| Kingston Viewpoint #5Kingston | Kingston | The fifth viewpoint in Kingston is on top of the western windmill. Climb to the roof, then walk on the wooden beam in the back to synchronize it. | ||
| Kingston Viewpoint #6Kingston | Kingston | The sixth and final viewpoint in Kingston is found on the chimney of the Sugar Mill building. Climb to the top to synchronize it. | ||
| Isla Providencia Viewpoint #2Isla Providencia | Isla Providencia | The second Isla Providencia Viewpoint can be found in the island's southeastern ruins. Climb to the top of the ruins, right above the waterfall, to synchronize this location. | ||
| Isla Providencia Viewpoint #1Isla Providencia | Isla Providencia | The first Isla Providencia Viewpoint is located on the southeastern beach of the island, resting on top of the half-sunken ship. This area also serves as your starting location at the beginning of the main quest, Marooned. Climb to the top of the foremast to synchronize this location. | ||
| Isla Providencia Viewpoint #3Isla Providencia | Isla Providencia | The third and final viewpoint in Isla Providencia can be found in the northeastern ruins. Head to the area and climb the large temple in the center to synchonize this location. | ||
| Port Royal Viewpoint #1Port Royal | Port Royal | The first viewpoint in Port Royal is found on top of the church tower, located on the eastern side of the city. | ||
| Port Royal Viewpoint #2Port Royal | Port Royal | The second viewpoint in Port Royal is just outside Fort Charles on the southern side of the town. Look for the watchtower and climb it to synchronize the area. | ||
| New Bone ViewpointNew Bone | New Bone | The only viewpoint in New Bone is found in the British camp by the northern beach. Look for it on top of the windmill and synchronize it to reveal everything New Bone has to offer. | ||
| Misteriosa View PointMisteriosa | Misteriosa | On Misteriosa, you'll need to synchronize a single Viewpoint. It is located on the northern side of the area, on the upper levels of the Mayan Ruins. | ||
| Long Bay Viewpoint #3Long Bay | Long Bay | The second viewpoint in Long Bay is located atop the wooden structure standing in the middle of the water within the island's eastern cove. | ||
| Cape Bonavista Viewpoint #1Cape Bonavista | Cape Bonavista | The first Cape Bonavista Viewpoint can be found on top of the cliff in the central area. You'll stumble across this location while chasing the Assassin in the first quest of Sequence 1—Edward Kenway. Climb on top of the mast and synchronize the location to reveal all the hidden points of interest on your map. | ||
| Cape Bonavista Viewpoint #2Cape Bonavista | Cape Bonavista | To synchronize the second Cape Bonavista Viewpoint, head to the southern side of the area. Right after taking down Duncan Walpole in the opening quest, Edward Kenway, climb the branch at the edge of the combat clearing and synchronize at the top to reveal all nearby hidden points of interest. | ||
| Havana Viewpoint #9Havana | Havana | Found on the northwestern side of the plantation, outside the walls of Havana. Climb the windmill to synchronize the viewpoint. | ||
| Havana Viewpoint #8Havana | Havana | Found on top of the bell tower in northwestern Havana. Climb to the top and synchronize the viewpoint while standing on the wooden beam. | ||
| Havana Viewpoint #6Havana | Havana | The viewpoint is found on top of the tower southeast of the Cathedral of Havana. Head down the main road until you reach Havana General Store #5. As you face the store, look to your left to spot some wooden rafters. Climb up to the next level and look straight ahead at the grey-stone cathedral—this is the Havana Cathedral, and it's exactly where we're headed! From the platform you just pulled up on, head right and climb another set of wooden rafters on the side of the cathedral. Pull yourself up, use the lift device to shoot up to the next level, and climb the ladder straight ahead. Finally, head to the right and make your way to the southern end of the platform. Jump across to the wooden beam ahead, veer right once more, and synchronize the location from this side of the tower. | ||
| Havana Viewpoint #7Havana | Havana | This viewpoint is located at the highest point of the western tower within the Castillo de la Real Fuerza. Scale the stone structure to reach the peak, then step out onto the protruding wooden beam and synchronize your map. | ||
| Havana Viewpoint #5Havana | Havana | The viewpoint is found on top of the tower near the western Havana City wall. Climb to the top and synchronize it while standing on the wooden beam. Tip: Struggling to climb up? Simply head to the eastern wall, scale the metal door frame, and hoist yourself onto the roof. | ||
| Havana Viewpoint #4Havana | Havana | Found on the roof of the manor in southwestern Havana. While this is a restricted area, you can sneak around to reach the roof and synchronize the viewpoint. | ||
| Havana Viewpoint #3Havana | Havana | This viewpoint is found by the docks in Havana City. Climb to the top of the tower of the eastern church and synchronize it while standing on the wooden beam. | ||
| Havana Viewpoint #2Havana | Havana | The viewpoint is found on the southern side of the city, outside a plantation. Climb to the top of the bell tower and synchronize it while standing on the wooden beam. | ||
| Havana Viewpoint #1Havana | Havana | The viewpoint is found on the eastern side of Havana City. Unlike other viewpoints, you'll have to synchronize it as part of the "Lively Havana" quest. Climb to the top and look of the tower and look for the wooden beam. | ||
| Salt Lagoon ViewpointSalt Lagoon | Salt Lagoon | The Salt Lagoon Viewpoint is found on top of the bowsprit of the shipwreck on the southwestern beach. Climb to the top to synchronize it. | ||
| Abaco Island ViewpointAbaco Island | Abaco Island | The Abaco Island Viewpoint is located atop the tall, pointy rock in the middle of the island, right beside the Abaco Island Camp. First, head to the southwestern beach, just south of the nearby rowboat, and scan the area for a tree stump next to a leaning tree. Leap from the trunk onto the leaning tree, scuttle across the branches to the next tree, and make a final jump from the end of the branch over to the large rock! Head to the opposite end to synchronize the Abaco Island Viewpoint from the branch jutting out from the rocky cliff. | ||
| Nassau Viewpoint #2Nassau | Nassau | The second Nassau Viewpoint is found on the roof of the manor in western Nassau City. Climb the metal pole to synchronize it. | ||
| Nassau Viewpoint #3Nassau | Nassau | The third Nassau Viewpoint is found on top of the stone tower on the southwestern side of Nassau. Climb to the top and step on the beam to synchronize it. | ||
| Nassau Viewpoint #4Nassau | Nassau | The fourth Nassau Viewpoint is located on the southeastern hill, outside the city. Climb to the top of the wooden tower and synchronize it. | ||
| Nassau Viewpoint #5Nassau | Nassau | The fifth Nassau Viewpoint is located on the eastern side of the region. Climb to the top of the tall mast to synchronize it. | ||
| Nassau Viewpoint #1Nassau | Nassau | The first Nassau Viewpoint is located in the central area of the town. Climb to the top of the Parish Church and step on the wooden beam to synchronize it. | ||
| Salt Key Bank ViewpointSalt Key Bank | Salt Key Bank | The only Salt Key Bank Viewpoint is found on the hill overlooking the Salt Key Banks docks. Climb to the top of the wooden tower and synchronize it while standing on the wooden beam. | ||
| Andreas Island ViewpointAndreas Island | Andreas Island | The only Andreas Island Viewpoint is found on the western side of the island. Climb to the top of the wooden tower via the tree trunk nearby and synchronize it while standing on the wooden beam. | ||
| Cat Island ViewpointCat Island | Cat Island | The only Viewpoint on Cat Island is found on the eastern side of the plantation. Climb to the top of the chimney and step on the wooden beam to synchronize it. | ||
| Mariguana Island ViewpointMariguana Island | Mariguana Island | The only Viewpoint on Mariguana Island is found on top of the mast of a sunken ship. Look for it on the northeastern side of the island. Climb to the top and synchronize the viewpoint. | ||
| Great InaguaGreat Inagua | Great Inagua | Great Inagua features a single Viewpoint you have to synchronize. It is found on the northeastern side of the area, northwest of the Cove, at the end of a bent tree overlooking the bay and the docks. | ||
| Cayman Sound ViewpointCayman Sound | Cayman Sound | The Cayman Sound Viewpoint is located on the southern side of the island, halfway up a ship's mast. Synchronize it to discover the island and its secrets. | ||
| Grand Cayman ViewpointGrand Cayman | Grand Cayman | The only Viewpoint in Grand Cayman is found on the western side of the fishing village. Look for a tall wooden tower and climb it to synchronize the area. | ||
| Black Island ViewpointBlack Island | Black Island | The Viewpoint on Black Island is found on top of the house chimney on the eastern coast. Climb to the top and synchronize it. | ||
| Sacrifice Island Viewpoint #1Sacrifice Island | Sacrifice Island | The first Sacrifice Island Viewpoint can be found on the southern side of the island, just south of the Mayan Stela. To reach it, head for the pool of water in the northern area of the camp. Use the handholds to climb the rock face and mayan ruins until you can pull yourself up to the top of the cliff. From there, scale the stone pillar overlooking the southern Spanish encampment to synchronize the viewpoint. | ||
| Sacrifice Island Viewpoint #2Sacrifice Island | Sacrifice Island | The second Viewpoint on Sacrifice Island is found in a restricted camp within the ruins, just above the northwestern beach. Head straight toward the Mayan temple and scale to the top. Clear the immediate guards, take the stairs on the right to the temple roof, and climb the tallest stone pillar to synchronize. | ||
| Nassau Viewpoint #6Nassau | Nassau | From the fort's main entrance, head left over the gallows and jump across the tree branches until you reach a section of the wall. From there, climb up into the fort and then up to the viewpoint. Note: If you are in the area for the Now Hiring quest, you will NOT be able to access this area if you are still in the quest. You must complete any active main quests before you can infiltrate this location. | ||
| Kingston Viewpoint #2Kingston | Kingston | The second viewpoint in Kingston is found in the center of the city, on top of the tall church tower. Climb to the top and synchronize it. | ||
| Kingston Viewpoint #1Kingston | Kingston | The first Viewpoint in Kingston is found on top of the southeastern watchtower. Climb to the top of the tall tower and synchronize it. | ||
| Kingston Viewpoint #3Kingston | Kingston | The third Viewpoint in Kingston is found on the northeastern side of the city, on top of a white church. Climb the tower to synchronize it. | ||
| Florida ViewpointFlorida | Florida | The Viewpoint you have to synchronize on Florida Island is found on top of a ship's mast, on the southeastern side of the island. Climb to the top and synchronize it to reveal the area. | ||
| Matanzas ViewpointMatanzas | Matanzas | The only viewpoint you must synchronize in Matanzas is on the roof of the main manor on the western side of the plantation. To reach it, climb the wooden rafters on the eastern side of the house to reach the roof, then synchronize it to reveal all collectibles and points of interest. | ||
| Tortuga Island ViewpointTortuga Island | Tortuga Island | To reveal the map for Tortuga Island, you only need to synchronize a single Viewpoint. Head to the center of the plantation and scale the large white tower situated on the northeastern cliff. Climb all the way to the top to synchronize the area—and be sure to grab the salvage chest tucked inside one of the upper rooms on your way up! | ||
| Principe Viewpoint #1Principe | Principe | The first viewpoint in Principe is located atop the mast of the large ship near the island’s starting point. | ||
| Crooked Island ViewpointCrooked Island | Crooked Island | The only Crooked Island Viewpoint is found on the western side of the small settlement. Climb to the top of the wooden tower and synchronize it while standing on the wooden beam. | ||
| Corozal ViewpointCorozal | Corozal | The viewpoint in Corozal is found on top of the wooden tower on the southern beach. Climb all the way to the top to synchronize it. | ||
| Caracol ViewpointCaracol | Caracol | Caracol features a single Viewpoint that you must synchronize. It is located on top of a ship's mast on the eastern beach. | ||
| Ile à Vache ViewpointIle à Vache | Ile à Vache | The viewpoint on Ile à Vache island is found on the northern side of the village. Look for a tall wooden tower and climb it to synchronize the area. | ||
| Arroyos ViewpointArroyos | Arroyos | The only Viewpoint in Arroyos is found on the northeastern side of the fishing village. Look for a tall wooden tower and climb it to synchronize the area. |

© MapMaster.io 2024. All rights reserved.