Castlevania: Belmont's Curse The Miser Clues in the Bishop's Office
Three diary pages hidden in the Bishop’s Office tell the story of a churchman who traded his peace for gold, and in Castlevania Belmont’s Curse they’re the trail to The Miser. Our maps place all three in the office’s Hidden Areas, so you’ll need to break, climb, and slide your way to each one. The Castlevania Belmont’s Curse Bishop’s Office interactive map leads you to the room where the whole set waits.
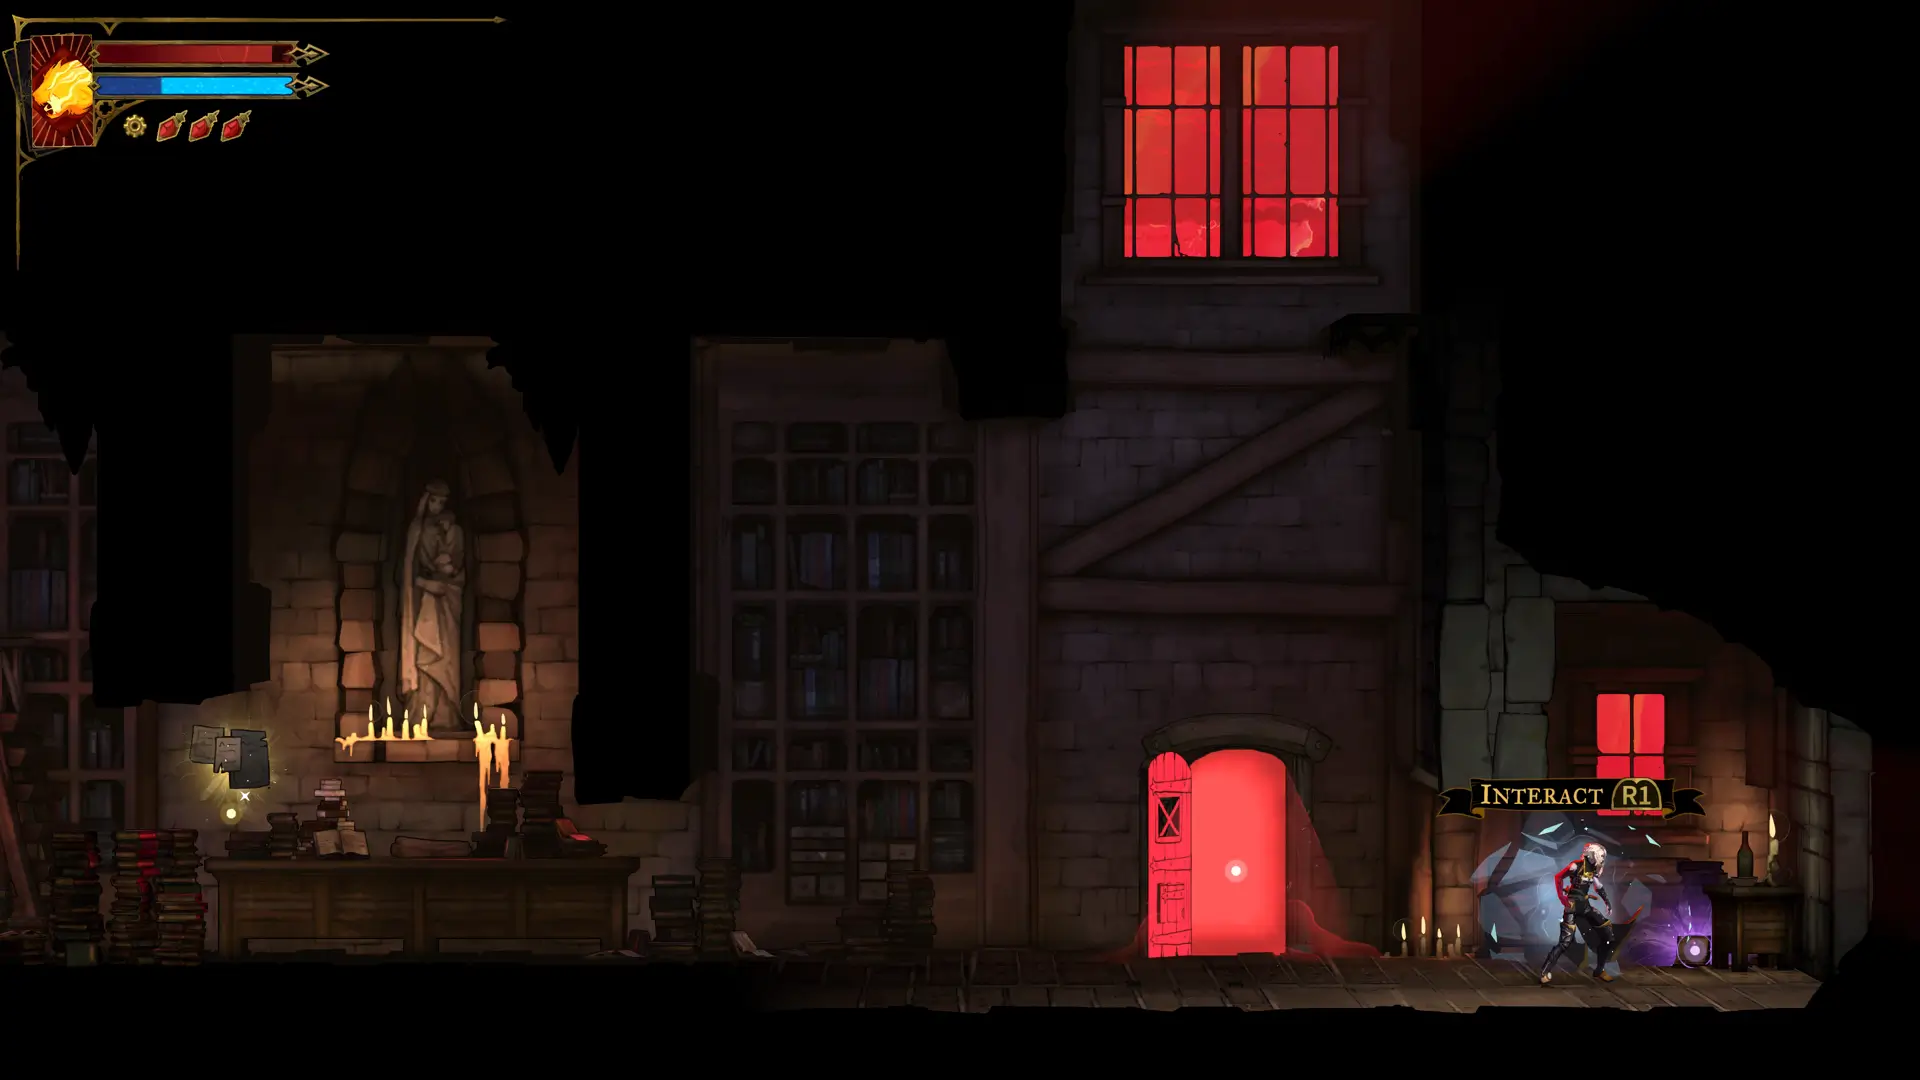
Alexandru Popescu broke into each hidden room on his Map Master run, and the Castlevania Belmont’s Curse map guide follows the Miser’s gold from there to the Catacombs. The pages read best in date order, January to March, because each one moves the story a step closer to Mammon.
Where to Find The Miser Clues in Castlevania Belmont’s Curse
The Bishop’s Office opens from the door on the eastern side of the Court of Justice. Each diary page is behind a different kind of secret: a breakable wall, a wall-jump climb to the upper level, and a wall you slide straight through. The Bishop’s Office hidden areas cover all three routes.
The set is reported to have a fourth Clue, A Door Made of Flesh and Eyes, in the Circle of Greed deep in the Catacombs. The three diary pages log the moment you read them, so a single visit to the office fills three quarters of The Miser’s card in your Tarot menu.
What The Miser Clues Reveal in Castlevania Belmont’s Curse
The writer accepts a gift from a stranger and slowly loses himself to it. By February his hands shake unless he grips a coin, and by March he has killed his Deacon over a stolen “wheel” and plans to flee Paris with his gold. The office suggests the writer is the bishop himself, and the Bishop’s Office lore note on the lower wall adds to that picture.
Each page names a hiding place for his relics: the tomb, the hospital, and the catacombs. Those match the three Eyes that are reported to wait on Mammon’s altars, the Trembling Eye in the Pillaged Tombs, the Thrilling Eye in the Paris hospital, and the Oozing Eye in the Circle of Greed. All three count among the game’s 44 Relics in Belmont’s Curse, though they serve only one purpose.
How to Complete The Miser Clues and Reach Mammon
Equip all three Eyes to open the Gate of Flesh in the Catacombs, then swap them out before you step into Mammon’s Lair, since they do nothing in the fight. Mammon reportedly turns to gas for about nine seconds at a time and can’t be hit while he’s gaseous, which makes him one of the trickier optional Belmont’s Curse bosses.
Bring Blood Spikes from Carmilla. Its bleed is reported to last about eight seconds, so casting it before Mammon turns to gas keeps the damage ticking while he’s untouchable. The Blood Spikes spell is the reason to save this fight until after the Library, and the gas phase reportedly shortens to six seconds once he’s hurt.
Do You Need Mammon for the True Ending in Castlevania Belmont’s Curse?
Reportedly, yes. Mammon’s reward chest contains the Ferryman’s Obol, and returning it to the Ferryman is said to give you Freezing Path, The Whisperer’s spell, and one of the four Arcana the true ending asks for. The Ferryman’s Obol keepsake is the bridge between this set and that card.
Read the diary pages on your first visit to the Bishop’s Office, since three of the four Miser Clues count toward Greatest Detective with no fight attached. Gather the Eyes as you explore Paris, the Cemetery, and the Catacombs, then take on Mammon once Carmilla is down and Blood Spikes is in your deck.
| Name | Map Location | Details | Found |
|---|---|---|---|
| Hospital RelicBishop's OfficeHospital Relic | Bishop's Office | Hospital Relic is the second Clue in The Miser Set. It is found in the Hidden Area in the bottom-right part of the Bishop's Office. Hospital Relic Clue Description:February 3, year of our Lord 1499. Since I accepted my gift, my hands quake with palsy unless I grasp a coin or a bit of silver. My relic in the hospital soothed my frayed nerves. The stranger said he could erase the burden completely. All I must do is write a letter. I wrote as dictated and sent my last messenger. God save us. God save me. | |
| Tomb RelicBishop's OfficeTomb Relic | Bishop's Office | Tomb Relic is the first Clue in The Miser Set. It is found in the Hidden Area in the top-left part of the Bishop's Office. Tomb Relic Clue Description:January 2, year of our Lord 1499. The strange came again. He asked to see the cathedral and offered a gift. An artefact he said would bring fortune upon myself and the city of Paris. The more I meditate on this precious instrument, the closer to God I feel. He gave more treasure and gold too. Good works we shall do with this. I shall buy more relics like the one I've stored in the tomb. | |
| Catacomb RelicBishop's OfficeCatacomb Relic | Bishop's Office | Catacomb Relic is the third Clue in The Miser Set. It is found in the Hidden Area in the top-right part of the Bishop's Office. Catacomb Relic Clue Description:March 13, year of our lord 1499. The Deacon stole it! He stole my precious wheel. Now he lies dead at my feet. I cannot stay here. I will board a ship and vanish to a far away land. But I cannot leave yet. I must have my relics. I must retrieve that which lies in the catacombs. And plenty of gold and silver for the journey. I cannot leave without my GOLD. | |
| A Door Made of Flesh and EyesCatacombs of ParisA Door Made of Flesh and Eyes | Catacombs of Paris | A Door Made of Flesh and Eyes is the fourth Clue in The Miser Set. It is obtained automatically after interacting with the Gate of Flesh on top of the stairs on the eastern side of the Circle of Greed Sub-Area. A Door Made of Flesh and Eyes Clue Description:It looks fresh. Something quite horrid moved in here recently. How to Complete:
|

© MapMaster.io 2024. All rights reserved.