Castlevania: Belmont's Curse Boss Guide
Castlevania Belmont’s Curse puts a boss at every major turn of Rose’s hunt, and our maps place the first six story bosses, from The Fallen in Paris to Carmilla in the Library. Each one gives you a tarot Arcana, an ability, or the next part of the story, and none of them can be skipped. The Castlevania Belmont’s Curse Paris Streets map of the Catacombs gate marks the first fight, right where the city’s underground begins.
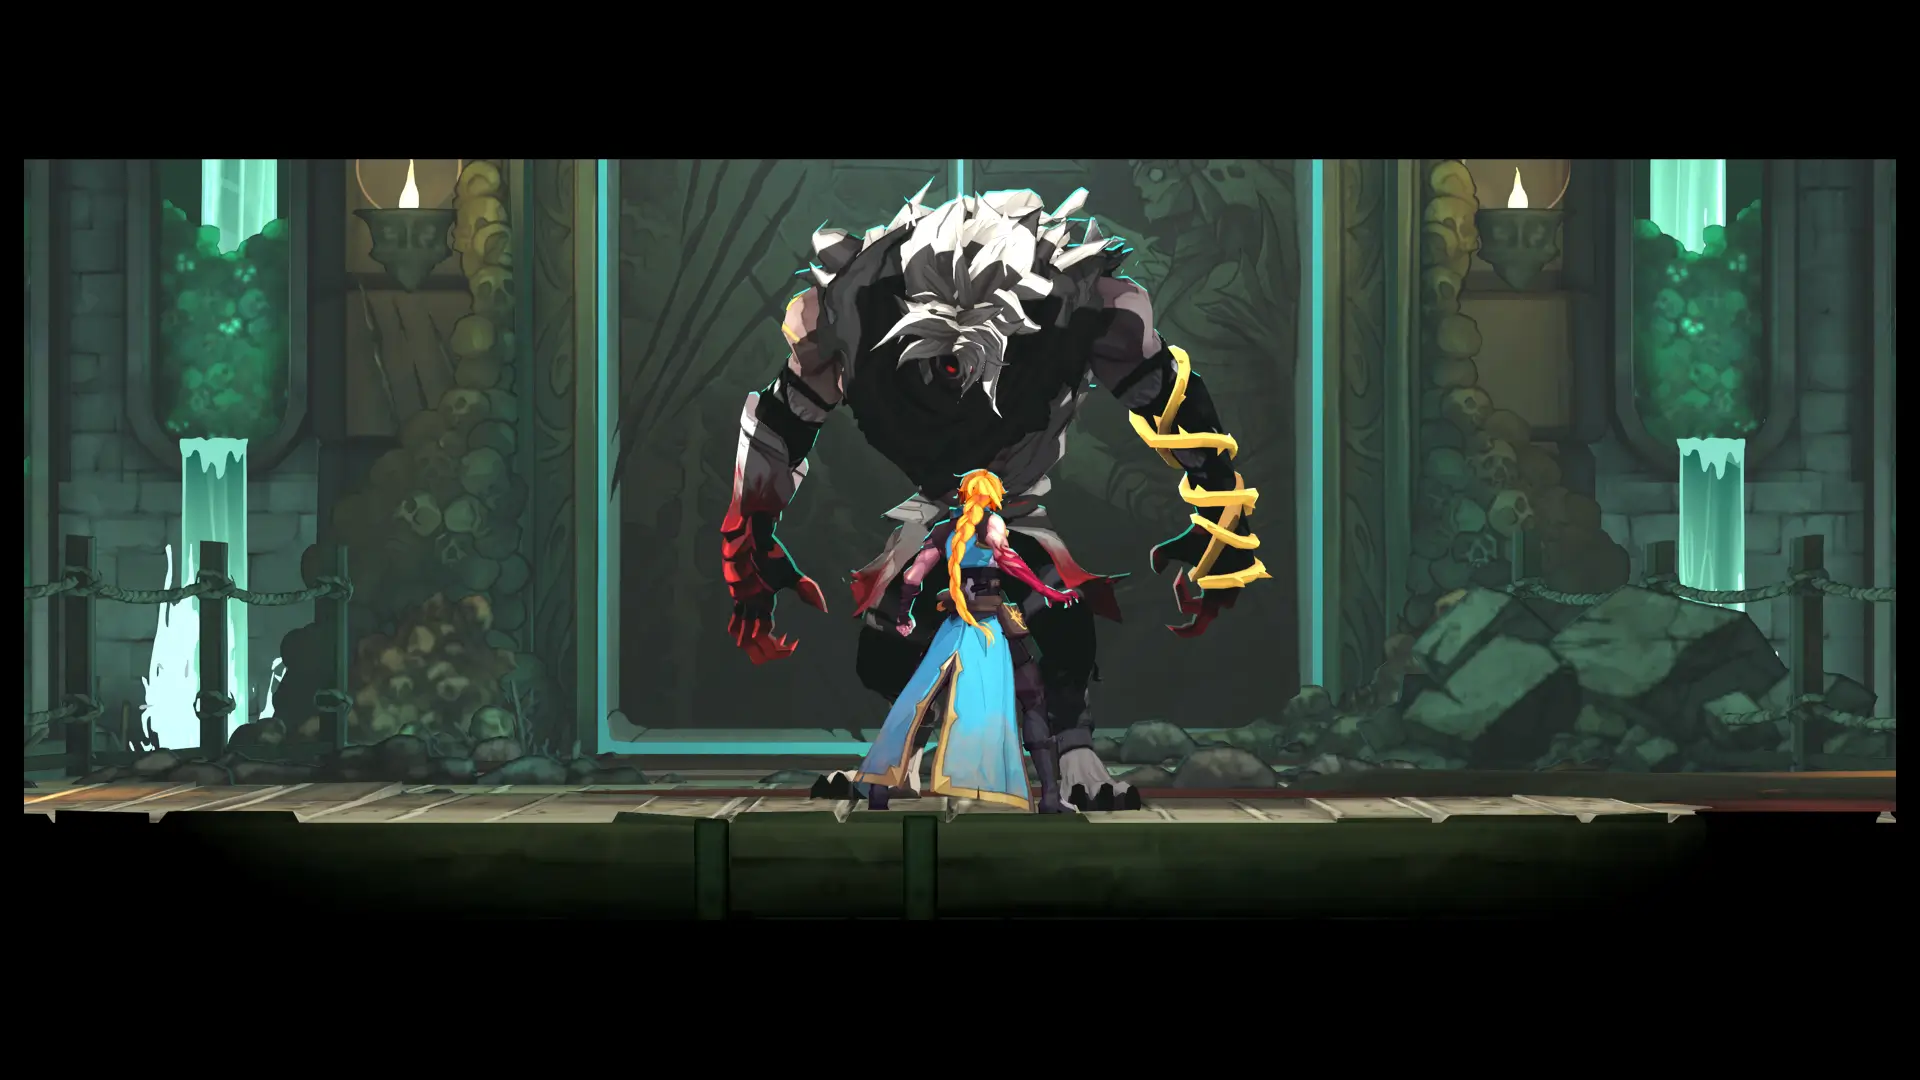
Alexandru Popescu fought his way through each of these for Map Master, and the Castlevania Belmont’s Curse 100% completion guide links every area they guard. Two of the six aren’t fights you’re meant to win: your first meeting with Death is scripted to end in defeat, and the Isaac at the castle drawbridge is only an illusion.
Castlevania Belmont’s Curse Bosses in Order
The first five bosses come in a fixed order: The Fallen, then Medusa in the cemetery, Joan of Arc on the Prison Tower, Death in the Catacombs, and Isaac at the castle gates. After that you can take Talos at the top of the Clock Tower or Carmilla in the Library first, and each win opens the next stretch of the map.
Several bosses come back stronger. Death returns in Notre-Dame and gives Soul Harvest when you beat him there, and the real Isaac waits in the Heart of the Clock once you can reach it. Dracula is the last fight of the main story, and the Arcana spells each boss unlocks explain what you take away from every win.
How to Beat The Fallen and Medusa
Keep your distance from The Fallen and hit his spinning cross when it comes at you, which interrupts it before it can land. Beating him gives you The Fallen Arcana, the Holy Cross spell, and the Arcane Whip, and his fight also finishes a Clue trail, as the Fallen Clue locations before the fight show.
Turn Rose away when Medusa charges her gaze, since facing away avoids both the damage and the petrification. Drop down to dodge her tail and use the boulder as cover when rocks fall. She gives you The Prophetess Arcana, Petrifying Gaze, and one of the three Catacombs keys, and the Holy Innocents’ Cemetery map of the Serpents’ Lair shows the way in.
How to Beat Joan of Arc, The Warrior
Stay mobile and don’t swing into Joan’s sword combos. Wait for each string to end, punish the opening, and use the grapple points to get clear when the roof fills with flames, as the Prison Tower map of the rooftop arena shows. Her flames spread across more of the roof as the fight goes on, so don’t let her pin you in a corner.
Beating Joan gives you The Warrior Arcana, the Infernal Pyre spell, Holy Light, and the last of the three keys to the Catacombs. You’ll face her again in Notre-Dame’s trial of Courage for the true ending, where she hits harder, and that rematch only opens with Infernal Pyre equipped.
Can You Beat Death? The Belmont’s Curse Boss Fights You Can’t Win Yet
Your first fight with Death can’t be won, so don’t burn potions trying. Dodge his scythe combos and energy waves until the story takes over at the Altar of Bones, deep in the Catacombs of Paris map below the city. The real victory comes later in Notre-Dame, where beating him gives you The Shadow Arcana and Soul Harvest.
The Isaac at the castle drawbridge is an illusion that gives no Arcana. Jump over his green waves and hit him from behind after each teleport, and the Main Hall map of the castle drawbridge places the bridge he guards. The real Isaac, and The Zealot Arcana, wait in the Heart of the Clock much later.
How to Beat Carmilla and Talos in Dracula’s Castle
Deal with Carmilla’s summoned skulls first, then attack when she resurfaces, and slip through the gaps between her blood pillars. The Library map of the Observatory fight shows the climb to her, and beating her gives you The Occultist Arcana, Blood Spikes, Aerial Rush, and the paintbrush that leads to Brauner.
Talos guards the top of the Clock Tower, so take out his blue shield drones first, since his core is only exposed once they’re gone. Drop behind cover during his fire and mine attacks, and the win gives you The Builder Arcana, Fist of Talos, and Smash. Brauner, in the Main Hall, isn’t a fight at all: Smash breaks his sculpture and hands you The Artist.
Optional Castlevania Belmont’s Curse Bosses and the True Ending
Three optional bosses are there purely for their rewards. Mammon waits behind the Gate of Flesh in the Catacombs, which only opens once you have three Eye relics, and the Relic locations for the three Eyes show where to find them. The Succubus hides in the Hall of Mirrors, and Arthur only appears in Notre-Dame with Fist of Talos equipped.
The true ending needs three of the optional fights: the Joan rematch, Saint Louis at the Scales of Justice, and Rose’s Doppelganger, who gives you Absolution. Saint Louis isn’t a normal fight either, since you balance the scales with your own health and mana, so collect the Brave Heart Fragments for more health and their Wise counterparts for mana before you try it.
How Many Bosses Are in Castlevania Belmont’s Curse?
Expect around 18 boss encounters against 14 different opponents, once you count the rematches and the special encounters. Eleven of them are required for the normal ending, from The Fallen to Dracula, which leaves seven that only unlock extra Arcana or the true ending.
No boss locks you out for good, and a fight you lose sends you back to your last Mirror of Life with the boss waiting for another try. If a boss door won’t open, you’re usually missing a key or an ability, and the keys and items that open boss doors list what each one needs.
| Name | Map Location | Details | Found |
|---|---|---|---|
| Joan (The Warrior)Prison TowerJoan (The Warrior) | Prison Tower | Joan is the third boss Rose fights in Castlevania: Belmont’s Curse. She is located on the Roof of the Prison Tower, and she is mandatory for story progression. | |
| Arthur (The Brittle King)Notre-DameArthur (The Brittle King) | Notre-Dame | Arthur (The Brittle King) is an optional boss Rose can fight in Castlevania: Belmont’s Curse. He is guarding the Excalibur Sword, and he is mandatory for completing the Feat of Strength Clue. | |
| Death (The Shadow)Catacombs of ParisDeath (The Shadow) | Catacombs of Paris | Death is the fourth boss Rose fights in Castlevania: Belmont’s Curse. It is located in the Altar of Bones (Catacombs of Paris), and it is mandatory for story progression. You are supposed to lose this encounter with Death. | |
| Dracula - Bad EndingClock TowerDracula - Bad Ending | Clock Tower | Found west of the Cursed Horologium in the Clock Tower. You can attempt to fight Dracula without defeating Death, and you will lose, triggering the Bad Ending. You will not lose progress and can continue from the Mirror of Life in the Mechanic's Ascent. | |
| IsaacMain HallIsaac | Main Hall | Isaac is the fifth boss Rose fights in Castlevania: Belmont’s Curse. He is located in the Castle Drawbridge (Main Hall), and he is mandatory for story progression. | |
| Brauner (The Artist)Main HallBrauner (The Artist) | Main Hall | Brauner (The Artist) is a boss you actually defeat during the cutscene after breaking Brauner's "Masterpiece" using the Smash ability. You must use Smash from the Luminous Anchor above. | |
| The FallenParis StreetsThe Fallen | Paris Streets | The Fallen is the first boss Rose fights in Castlevania Belmont’s Curse. He is guarding the Gate to the Catacombs, and he is mandatory for story progression and for completing the A Monster Terrorizes Paris Clue. | |
| Carmilla (The Occultist)LibraryCarmilla (The Occultist) | Library | Carmilla is the sixth boss Rose fights in Castlevania: Belmont’s Curse. She is located in the Library Observatory, and she is mandatory for story progression. | |
| Death (The Shadow)Notre-DameDeath (The Shadow) | Notre-Dame | The Shadow (Death) is a mandatory boss for story progression that Rose fights in Castlevania: Belmont’s Curse. It is found in the middle of the Choir Sub-Area in Notre-Dame. | |
| Talos (The Builder)Clock TowerTalos (The Builder) | Clock Tower | Talos is the seventh boss Rose fights in Castlevania: Belmont’s Curse. He is located in the Throne of the Builder Sub-Area, and he is mandatory for story progression. | |
| Medusa (The Prophetess)Holy Innocents' CemeteryMedusa (The Prophetess) | Holy Innocents' Cemetery | Medusa is the second boss Rose fights in Castlevania Belmont’s Curse. She is located in the Serpents' Lair, and she is mandatory for story progression. |

© MapMaster.io 2024. All rights reserved.