How to Solve Every Borderlands 4 Evocarium Puzzle
Three light beams, three golden orbs and 15 SDU: that's every Borderlands 4 Evocarium, and our maps have all 18. Two of the earliest are on the Coastal Bonescape map, including the Waterstop puzzle by the dam, where the third orb hides in a secret room.
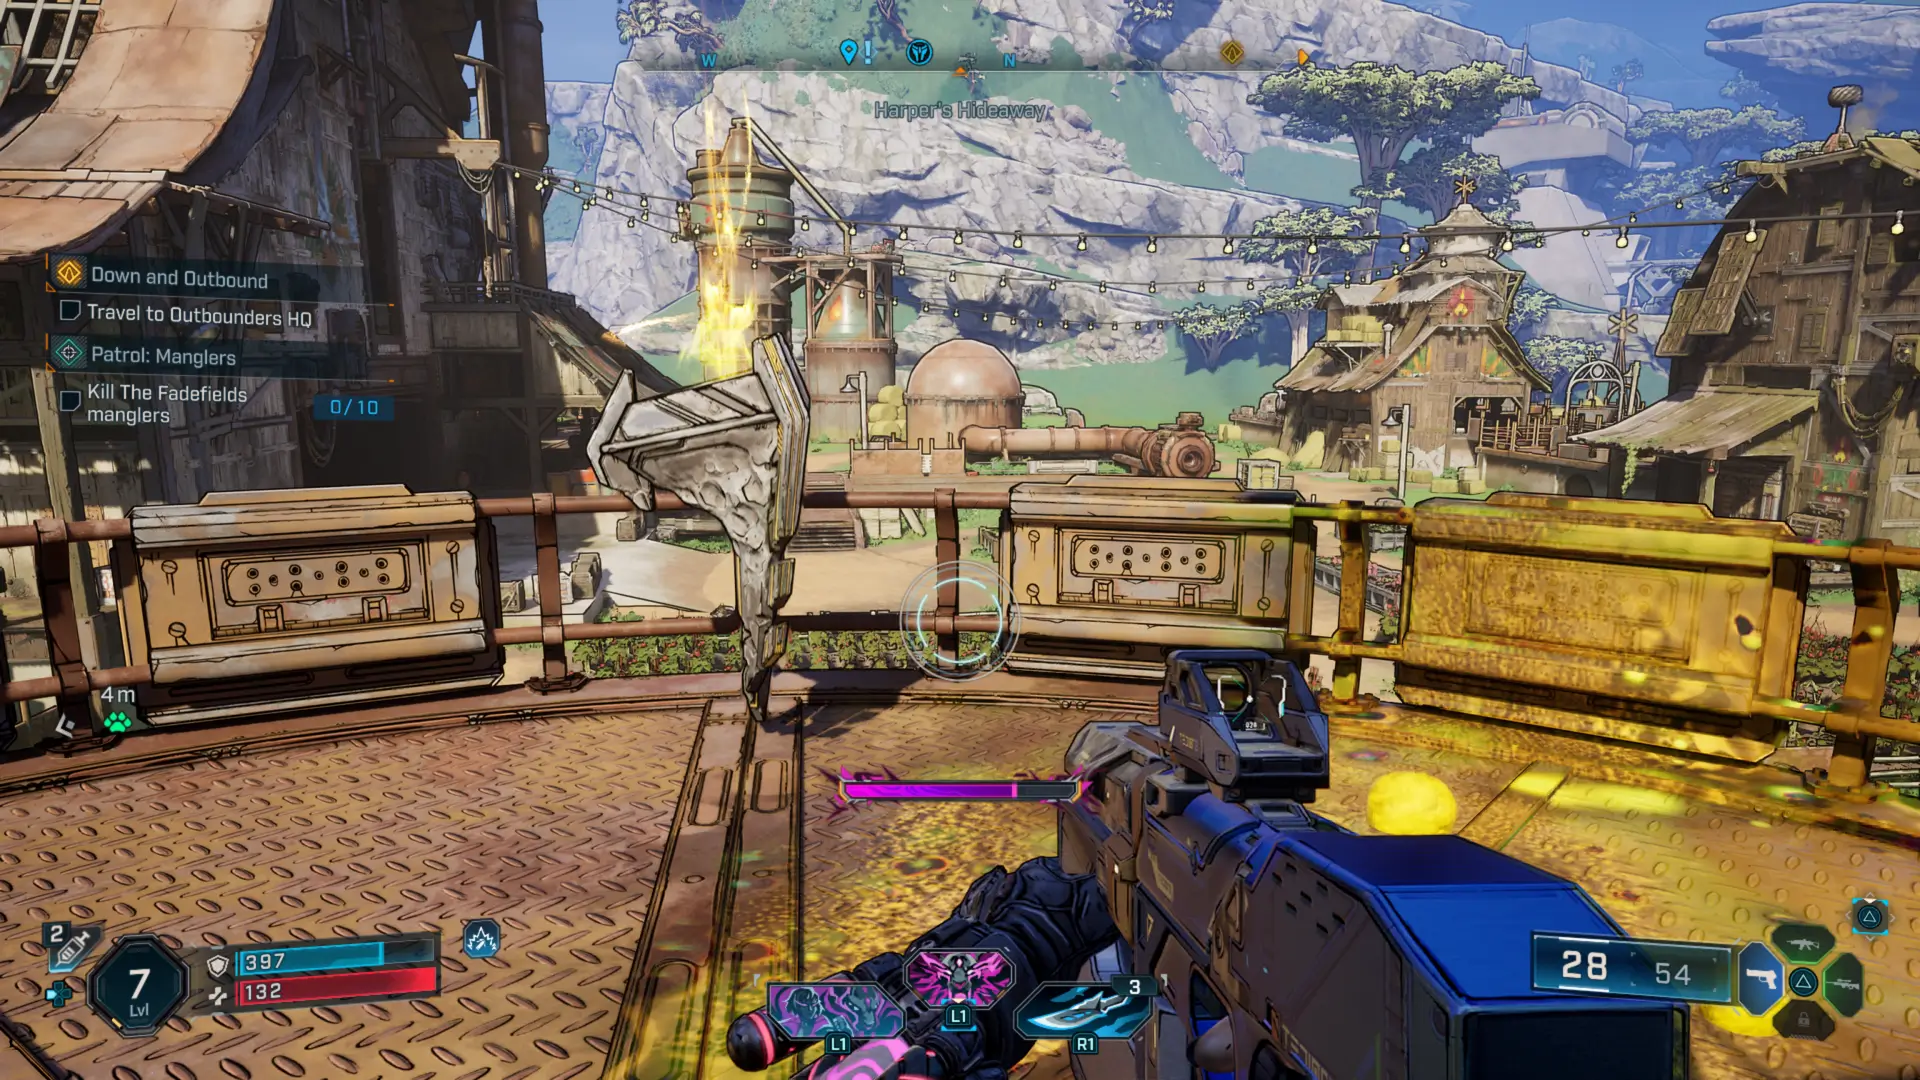
The device and orb pins in our Borderlands 4 collectibles map come with PS5 screenshots Map Master took on the spot, which matters when a beam points at a rooftop. The 18 split six in the Fadefields, five in Terminus Range, four in Carcadia Burn and three in Dominion, one for each district of Dominion City.
Solving a Borderlands 4 Evocarium, Step by Step
Interact with the device and three light beams shoot out across the area. Each beam points to a yellow orb, an Evocarium Part, and you need to collect all three, then walk back to the device to claim the reward. Clear any nearby enemies before you start, so nothing chases you between orbs.
Each route to an orb is yours to work out once the beams fire. Expect rooftops, ladders and grapple points: at Waterstop, the first two orbs are on rooftops northeast of the device, and the third is down a ladder past two pits.
Borderlands 4 Evocarium Rewards Add Up
Fifteen SDU per puzzle across 18 puzzles comes to 270 SDU, more than Vault Symbols give you from all 46. That's real progress toward expanding your backpack, bank and ammo capacities, which need 3,225 SDU to max out completely. The 18 puzzles alone get you about a twelfth of the way.
Evocariums rank in the middle of the SDU sources. Propaganda Speakers pay 20 each and Safehouses 40, while Vault Symbols pay five, so an Evocarium is a solid stop whenever one appears near your route, especially on the way to one of those bigger payouts.
Borderlands 4 Evocariums With a Catch
A few devices need extra steps. The Hungering Plain Evocarium is on the edge of a roof, with a grapple point nearby to get you up there, and one Tonnage Peel device stands in an enemy-filled area under The Lowrise Safehouse.
The Howl's Evocarium is on a ledge in the area you explore during Savage Salvage, so that side mission is your way in. Stoneblood Forest's device is out in the open among deadly creatures, so deal with them before you chase any beams.
Which Borderlands 4 Evocariums to Solve First
Do the Fadefields six first, since they come earliest and add 90 SDU when your inventory is at its smallest. Coastal Bonescape, Tonnage Peel, The Low Leys and Cuspid Climb each have two devices, so those four zones pay 30 SDU per visit.
All 18 remain available after the story, so nothing pushes you to rush. Fold the Lost Capsules in the same zones into that trip, since each capsule pays 15 SDU too, and the Tonnage Peel map has two Evocariums plus a capsule to grab.
| Name | Map Location | Details | Screenshot | Found |
|---|---|---|---|---|
| EovcariumCoastal Bonescape | Coastal Bonescape | Found on the edge of a platform. Interact with it and follow the 3 light beams to find 3 yellow orbs. Interact with all 3 orbs and return to the device to receive your reward. Orbs (Evocarium Parts) Locations: Rewards:
| ||
| EvocariumCoastal Bonescape | Coastal Bonescape | Found next to a metal railing. Interact with it and follow the 3 light beams to find 3 yellow orbs (Evocarium Parts). Interact with all 3 orbs and return to the device to receive your reward. Orbs (Evocarium Parts) Locations: Rewards:
| ||
| EvocariumThe Howl | The Howl | Found on a ledge you can reach by climbing a ladder in the area you explore during Savage Salvage. Interact with it and follow the 3 light beams to find 3 yellow orbs (Evocarium Parts). Interact with all 3 orbs and return to the device to receive your reward. Orbs (Evocarium Parts) Locations: Rewards:
| ||
| EvocariumHungering Plain | Hungering Plain | Found on the edge of the roof of a building. There is a grappling point nearby that you can use to reach the roof. Interact with the Evocarium and follow the 3 light beams to find 3 yellow orbs (Evocarium Parts). Interact with all 3 orbs and return to the device to receive your reward. Orbs (Evocarium Parts) Locations: Rewards:
| ||
| EvocariumIdolator's Noose | Idolator's Noose | Found by the water and the drill. Interact with it and follow the 3 light beams to find 3 yellow orbs. Interact with all 3 orbs and return to the device to receive your reward. Orbs (Evocarium Parts) Locations: Rewards:
| ||
| EvocariumDissected Plateau | Dissected Plateau | Found up on the hill, next to a wooden walkway. Interact with it and follow the 3 light beams to find 3 yellow orbs. Interact with all 3 orbs and return to the device to receive your reward. Orbs (Evocarium Parts) Locations: Rewards:
| ||
| EvocariumLopside | Lopside | Found on a rock formation by the road. Interact with it and follow the 3 light beams to find 3 yellow orbs (Evocarium Parts). Interact with all 3 orbs and return to the device to receive your reward. Orbs (Evocarium Parts) Locations: Rewards:
| ||
| EvocariumRuined Sumplands | Ruined Sumplands | Found on a container next to a flag. Interact with it and follow the 3 light beams to find 3 yellow orbs (Evocarium Parts). Interact with all 3 orbs and return to the device to receive your reward. Orbs (Evocarium Parts) Locations: Rewards:
| ||
| EvocariumTonnage Peel | Tonnage Peel | Found on the edge of a metal platform in an area filled with enemies, under The Lowrise Safe House. Interact with it and follow the 3 light beams to find 3 yellow orbs (Evocarium Parts). Interact with all 3 orbs and return to the device to receive your reward. Orbs (Evocarium Parts) Locations: Rewards:
| ||
| EvocariumTonnage Peel | Tonnage Peel | Found on a small plateau by the road. Interact with it and follow the 3 light beams to find 3 yellow orbs (Evocarium Parts). Interact with all 3 orbs and return to the device to receive your reward. Orbs (Evocarium Parts) Locations: Rewards:
| ||
| EvocariumStoneblood Forest | Stoneblood Forest | Found in the open in an area infested with deadly creatures. Interact with it and follow the 3 light beams to find 3 yellow orbs (Evocarium Parts). Interact with all 3 orbs and return to the device to receive your reward. Orbs (Evocarium Parts) Locations: Rewards:
| ||
| EvocariumThe Low Leys | The Low Leys | Found on the edge of a cliff, by the mountain wall. Interact with it and follow the 3 light beams to find 3 yellow orbs (Evocarium Parts). Interact with all 3 orbs and return to the device to receive your reward. Orbs (Evocarium Parts) Locations: Rewards:
| ||
| EvocariumThe Low Leys | The Low Leys | Found next to a pile of rocks in an area with a bunch of nests. Interact with it and follow the 3 light beams to find 3 yellow orbs (Evocarium Parts). Interact with all 3 orbs and return to the device to receive your reward. Orbs (Evocarium Parts) Locations: Rewards:
| ||
| EvocariumCuspid Climb | Cuspid Climb | Found next to the excavation vehicle in the Order base. Interact with it and follow the 3 light beams to find 3 yellow orbs (Evocarium Parts). Interact with all 3 orbs and return to the device to receive your reward. Orbs (Evocarium Parts) Locations: Rewards:
| ||
| EvocariumCuspid Climb | Cuspid Climb | Found on a ledge halfway up the mountain. Interact with it and follow the 3 light beams to find 3 yellow orbs (Evocarium Parts). Interact with all 3 orbs and return to the device to receive your reward. Orbs (Evocarium Parts) Locations: Rewards:
| ||
| EvocariumCarcadia District | Carcadia District | Found in the middle of the patch of land. Interact with it and follow the 3 light beams to find 3 yellow orbs (Evocarium Parts). Interact with all 3 orbs and return to the device to receive your reward. Orbs (Evocarium Parts) Locations: Rewards:
| ||
| EvocariumTerminus District | Terminus District | Found by the water. Interact with it and follow the 3 light beams to find 3 yellow orbs (Evocarium Parts). Interact with all 3 orbs and return to the device to receive your reward. Orbs (Evocarium Parts) Locations: Rewards:
| ||
| EvocariumFades District | Fades District | Found in the corner of the upper walkway, by the building. Interact with it and follow the 3 light beams to find 3 yellow orbs (Evocarium Parts). Interact with all 3 orbs and return to the device to receive your reward. Orbs (Evocarium Parts) Locations: Rewards:
|

© MapMaster.io 2024. All rights reserved.