Control Resonant FBC Testing Facility Labs and Entrances
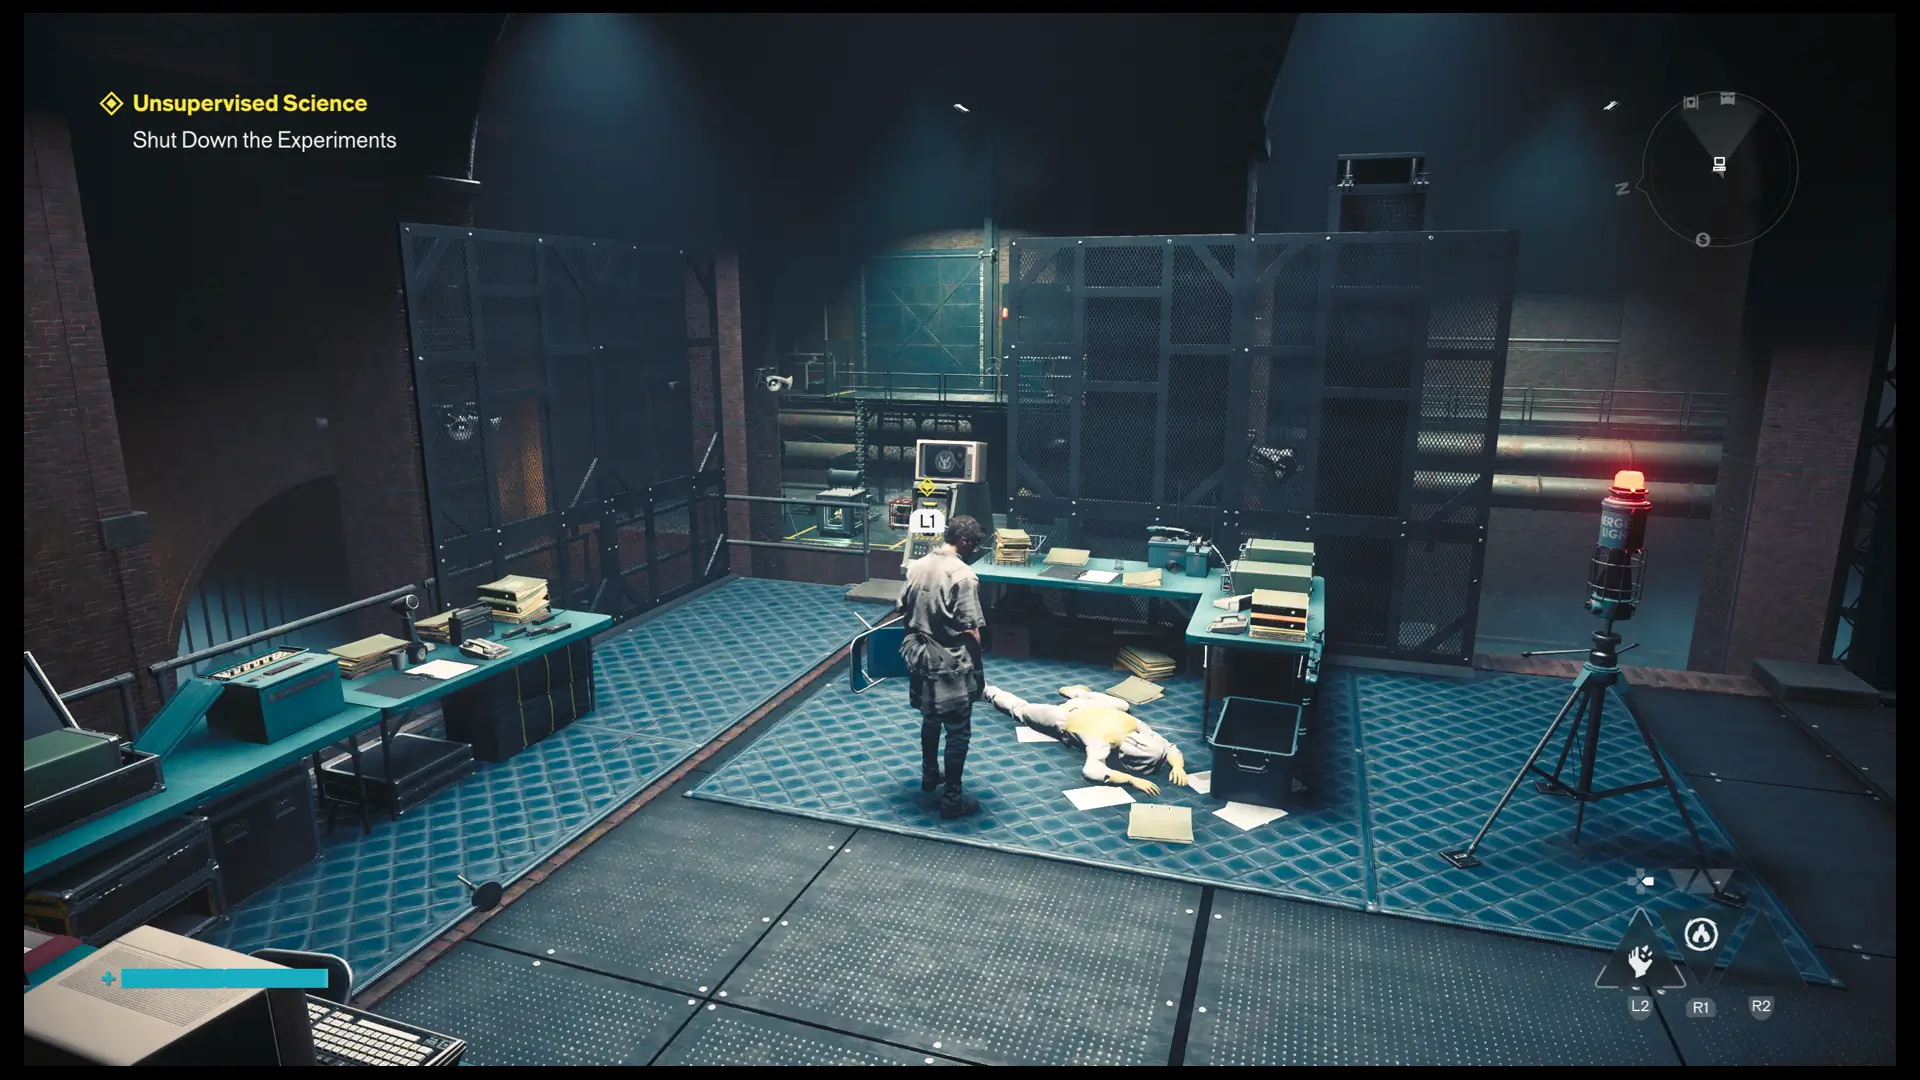
The Bureau left experiments running in sealed underground labs, and Control Resonant’s 6 FBC Testing Facilities are in every zone except the Watchtower and the Underpass. Start with Central’s lab, Platt, since entering it begins Unsupervised Science and shutting it down gives you a file that puts the other five on your map. If Control 2 is how you still think of this sequel, the Central map of the northwestern construction yard has the tunnel in.
Vlad Susanu found every hidden way in while mapping Manhattan for Map Master, and the Control Resonant side activity and lab maps link the rest of the game’s optional content. Every lab ends in one of two puzzles, three of each, so once you’ve solved one of a kind, its twins go much faster.
Testing Facility Locations: Start With Platt in Central
Platt opens once you’ve beaten the Deserter, through a tunnel in Central’s northwestern construction yard that leads to a lab under the northeastern side of the zone. Walking in starts Unsupervised Science, and Dr. Grant’s Voicemail beside the terminal is the first of the Bureau’s files on the project.
Shutting Platt down opens a locked room with a Power Upgrade Point, Notes From Dr. Puchalski, and Testing Facility Coordinates, which adds the other five labs to your map. That turns five searches for hidden entrances into straight runs, and the Impermanence Threshold files from every lab pick up the story from there.
How to Find the Other Five Testing Facilities
Every lab’s way in is underground, so the street above gives little away. Reade in Downtown is under an eastern building still under construction, which the Downtown map of the eastern construction site places, while Pearl, in the southeast of the Evacuation Zone, starts from a tunnel off a northern street, as the Evacuation Zone map of the Pearl tunnel shows.
The last three are just as well hidden. Broadway is down a tunnel off a street in the West Incursion Zone, Vesey is through the Sewer Entrance in southeastern Park, where an Elite Mold named Fergus waits, and Dutch is in the middle of the Unknown, reached from a southern tunnel, as the Unknown map of the Dutch lab tunnel shows.
Testing Facility Soda Machine Puzzle Solution: Reade, Pearl, and Broadway
Three labs ask you to make five soda dispensers. Start the terminal, then bring each of the five objects across the yellow lines on the floor, which change its shape, and drop it into a yellow square only once it’s a dispenser. A correct dispenser locks in place, while a wrong one can still be picked up, so the game tells you right away.
The layout changes, so no fixed solution works. Get each object into dispenser form before you look for a square, moving it back and forth over a line until it changes, and the puzzle goes quickly. The West Incursion Zone map of the Broadway lab tunnel places the third soda lab.
Testing Facility Power Core Puzzle Solution: Platt, Vesey, and Dutch
The other three labs use a 60-second Power Core balance. Start it at the terminal, then shift charge between the cores with your weapon while watching the pillars: blue is stable, red is close to overloading, and blinking red is critical, so always deal with the blinking ones first.
Platt uses four cores, while Vesey and Dutch add a fifth, which makes the later two noticeably busier. The Power Core Stations and how charging works cover the basics, and the Park map of the Sewer Entrance to Vesey places the lab where you’ll also have Fergus to deal with.
Testing Facility Rewards: Power Upgrades, Outfits, and Research Files
Every shutdown pays an Undefined Reading and opens a locked room. Platt, Reade, Pearl, and Broadway each give a Power Upgrade Point, a third of the 12 that the Power Upgrade Points you need for Astral call for, while Vesey has the Emergency Hood and Dutch the Firebreaker Goggles.
Each lab also has at least one research file, nine in all. Platt has three, Dutch two, and Reade, Pearl, Broadway, and Vesey one each, from Technician Washland’s doubts in Pearl to Dr. Roth’s ambitions in Vesey, so the labs double as a short story about the team behind them.
After the Sixth Testing Facility: Unsupervised Science and Threshold Researcher
Shutting down all six opens a Threshold inside Dutch, so it makes sense to finish in the Unknown. Wrong turns inside transform Dylan, so stay on the main path to the dead end, where Dr. Grant’s body and his Final Report complete the Unsupervised Science side quest steps.
The quest pays the Untapped Scrunchie recipe and counts toward the Threshold Researcher trophy guide, with Crossing the Threshold and The Last Taxi. After Platt, the other labs can be done in any order, and every one of them stays open after the credits.
| Name | Map Location | Details | Found |
|---|---|---|---|
| Central FBC Testing FacilityCentralCentral FBC Testing Facility | Central | Found on the northeastern side of Central Manhattan. You can access it via the tunnel entrance in the northwestern construction yard. Once inside, you'll start the Unsupervised Science Side Quest. Here is what you need to do next. How to Shut Down the Experiments in the Central FBC Testing Facility:
When the activity is complete, interact with the terminal again to receive one Undefined Reading. | |
| West Incursion Zone FBC Testing FacilityWest Incursion ZoneWest Incursion Zone FBC Testing Facility | West Incursion Zone | Found on the southwestern side of the West Incursion Zone. You can access it via the tunnel entrance on the northeastern street. How to Shut Down the Experiments in the West Incursion Zone FBC Testing Facility:
When the activity is complete, interact with the terminal again to receive one Undefined Reading and open the facility's door on the other side of the hall. | |
| Evacuation Zone FBC Testing FacilityEvacuation ZoneEvacuation Zone FBC Testing Facility | Evacuation Zone | Found on the southeastern side of the Evacuation Zone. You can access it via the tunnel entrance on the northern street. How to Shut Down the Experiments in the Evacuation Zone FBC Testing Facility:
When the activity is complete, interact with the terminal again to receive one Undefined Reading and open the facility's door on the other side of the hall. | |
| The Unknown FBC Testing FacilityUnknownThe Unknown FBC Testing Facility | Unknown | Found in the central area of The Unknown. You can access it via the southern Tunnel Entrance. Once inside, here is what you need to do next. How to Shut Down the Experiments in the Unknown FBC Testing Facility:
When the activity is complete, interact with the terminal again to receive one Undefined Reading. | |
| Downtown FBC Testing FacilityDowntownDowntown FBC Testing Facility | Downtown | Found on the eastern side of Downtown. You can access it via the tunnel entrance in the eastern building under construction. How to Shut Down the Experiments in the Downtown FBC Testing Facility:
When the activity is complete, interact with the terminal again to receive one Undefined Reading and open the facility's door on the other side of the hall. | |
| The Park FBC Testing FacilityThe ParkThe Park FBC Testing Facility | The Park | Found on the southeastern side of The Park. You can access it via the Sewer Entrance. Once inside, here is what you need to do next. How to Shut Down the Experiments in the Park FBC Testing Facility:
When the activity is complete, interact with the terminal again to receive one Undefined Reading. |

© MapMaster.io 2024. All rights reserved.