Beast of Reincarnation: Entrance Locations & Interactive Tracking Guide
Beast of Reincarnation's Entrances cover six distinct passage types, each with its own unlock mechanic. Our guide documents every Bulkhead, Locked Door, Locked Gate, Tunnel, Cave, Breakable Wall, and Crawl Space across all zones. Every passage and access point is also clearly marked on our Beast of Reincarnation navigation maps.
Bulkheads Open With a Control Panel That Is Rarely on the Same Side as the Door
This is the most common reason players get stuck in front of a Bulkhead. The Control Panel is almost never next to the Bulkhead itself.
In the Ancient Civilization Zone, two Bulkheads along the ravine both require a Control Panel on the northern side while the gate sits on the southern side — requiring a full loop around to find the panel.
In Starfall Tower, panels sit beside glass walls and up ramps, never at door level. When a Bulkhead won't open, the answer is always to find the panel on the opposite side of the gate rather than to interact with the gate itself.
Every Breakable Wall in Fuji Frontier Zone Uses the Same Oil Jug and Arrow Mechanic
Four Breakable Walls block passages in Fuji Frontier Zone, and all four work identically.
Find the oil jug mounted on a wall or platform near the blocked passage, shoot it with any arrow, and the wall collapses.
One of the four requires going around via a pipe to get a clean angle on the jug. One uses a jug on an upper platform. One sits next to a ballista.
All four are on the main path and don't require exploration detours to find. Fuji Frontier Zone's Breakable Walls also appear in Pilgrim's Zone, where the oil jug mechanic is the same.
Three Ogouchi Buffer Zone Doors Require Keys That Come Automatically Through Story
Three Locked Doors in Ogouchi Buffer Zone are gated by specific Keys — Red, Blue, and Tailwater.
All three are guaranteed story items that can't be missed, but their doors can be.
The Abandoned Village Locked Door uses the Red Key from the Retired Gatekeeper. The Cavern Storage Door uses the Blue Key from the Lookout Shack Enemy Lair.
The Tailwater Cave Locked Door uses the Tailwater Key from the story-gated bear fight. Getting the key and forgetting to return for the door is the most common way players miss the loot behind each one.
The Nushi's Lair Gate in Pilgrim's Zone Requires Striking the Belfry Bell First, Not Fighting
One gate in our guide has an unusual prerequisite that isn't a key, a panel, or a combat clear.
The entrance to Nushi's Lair on the northern side of Pilgrim's Zone only opens after Emma strikes the bell in the Belfry — the structure on the other side of the broken bridge west of the Belfry Entrance Camp.
Going straight to the gate without the bell step leaves it sealed with no apparent interaction prompt. After the bell, proceed carefully — the Taurus rematch immediately follows.
The Giant Tree Zone Bulkhead Needs the Giant Tree Key From the Story Elite Enemy
One Bulkhead in our guide doesn't open with a Control Panel at all.
The Giant Tree Zone Bulkhead, in the middle of the zone on the path toward the Giant Tree, requires the Giant Tree Key.
That key drops from Giant Tree Zone Elite Enemy #1, which only spawns after Emma interacts with the Control Panel and talks to the Ancient Golem nearby.
Without the key, the Bulkhead panel shows a "Key Required" prompt rather than the standard interaction. Defeat the Elite Enemy first, collect the key, then return.
Why Doors and Gates Won't Open in Beast of Reincarnation, and What Actually Unlocks Them
Why won't the locked door open even though I have the key? Check whether the gate requires returning after meeting the Retired Gatekeeper — both the Abandoned Village and Cavern Storage doors have that story gate regardless of key possession.
Why is there a Bulkhead I can't open? The panel is almost always directly opposite, sometimes requiring a full loop around the building or ravine.
How do I break the wall? Shoot the oil jug nearby with any arrow — not a melee attack, not a ranged weapon, specifically an arrow.
Is the Capital Locked Gate missable? No — it opens automatically after the hologram sequence and blocks no loot. The Keeper Golem inside the cave near the hill top in Ogouchi is the most commonly missed reward hidden behind a Cave Entrance — check the cave close to the top of the hill before leaving the zone.
| Name | Map Location | Details | Screenshot | Found |
|---|---|---|---|---|
| Tunnel EntranceInukami River Zone | Inukami River Zone | Found next to the Ruined Plaza Campsite. Make sure you investigate the tunnel before heading to the boss area. | ||
| BulkheadStarfall Tower | Starfall Tower | Found right next to the Starfall Tower: Interior Campsite. Interact with the Control Panel right next to the Bulkhead to open it so you can progress. | ||
| BulkheadStarfall Tower | Starfall Tower | Found on the main path, right next to the Starfall Tower: Control Room Campsite, after going down the second elevator in Starfall Tower. | ||
| BulkheadStarfall Tower | Starfall Tower | Found next to the Starfall Tower: Entrance Campsite on the southern side of the Starfall Tower. You can open it using the Control Panel next to the glass wall, up the ramp. | ||
| Locked GateStarfall Tower | Starfall Tower | Found up the ramp. You can open it by interacting with the Control Panel by the glass wall, down the stairs. | ||
| Locked GateStarfall Tower | Starfall Tower | Found on the main path, close to the water. You can open the gate by interacting with the Control Panel in the metal building. | ||
| Locked GateThe Capital | The Capital | Found on the main path while heading toward the Administrator. The Gate unlocks automatically after the hologram stops talking. | ||
| Abandoned Village Locked DoorOgouchi Buffer Zone | Ogouchi Buffer Zone | Found near the workshop, where you can find the Rusted Golem. The door is unlocked using the Red Key you'll receive from the Retired Gatekeeper. The key can't be missed because it is a quest item; however, make sure that once you get it, you return to this location and open the door. | ||
| Disposal Site Tunnel EntranceOgouchi Buffer Zone | Ogouchi Buffer Zone | Found on the lower side of the Disposal Site. After defeating the Elite Enemy, check the tunnel to claim your rewards. | ||
| Cavern Storage DoorOgouchi Buffer Zone | Ogouchi Buffer Zone | Found halfway up the hill east of River Fork Campsite. The door is unlocked using the Blue Key found in the Lookout Shack Enemy Lair; however, you will not be able to retrieve the Key before meeting the Retired Gatekeeper (story-related event). The key can't be missed because it is a quest item; however, make sure that once you get it, you return to this location and open the door. | ||
| Tailwater Cave Locked DoorOgouchi Buffer Zone | Ogouchi Buffer Zone | Found at the end of the upper Tailwater Village cave. The door requires the Tailwater Key, unlocked via story progression. | ||
| Tailwater Village Upper CaveOgouchi Buffer Zone | Ogouchi Buffer Zone | Found at the end of the wooden bridge on the upper side of the rice fields north of Tailwater Village. | ||
| Tailwater Village Lower CaveOgouchi Buffer Zone | Ogouchi Buffer Zone | Found at the end of the wooden bridge halfway up the rice field terraces north of Tailwater Village. | ||
| Tunnel EntranceOgouchi Buffer Zone | Ogouchi Buffer Zone | The tunnel entrance is found behind some breakable crates on the southwestern side of the Ogouchi Buffer Zone. It is connected to the entrance in the back of the ruined facility on the western side. | ||
| Tunnel EntranceOgouchi Buffer Zone | Ogouchi Buffer Zone | The tunnel entrance is found in the back of the facility on the southwestern side of the Ogouchi Buffer Zone. It is connected to the entrance by the rice field. | ||
| Cave EntranceOgouchi Buffer Zone | Ogouchi Buffer Zone | Found along the western Ogouchi Buffer Zone river. | ||
| Cave EntranceOgouchi Buffer Zone | Ogouchi Buffer Zone | Found in the trench south of Cliffside Village: Outskirts Campsite. | ||
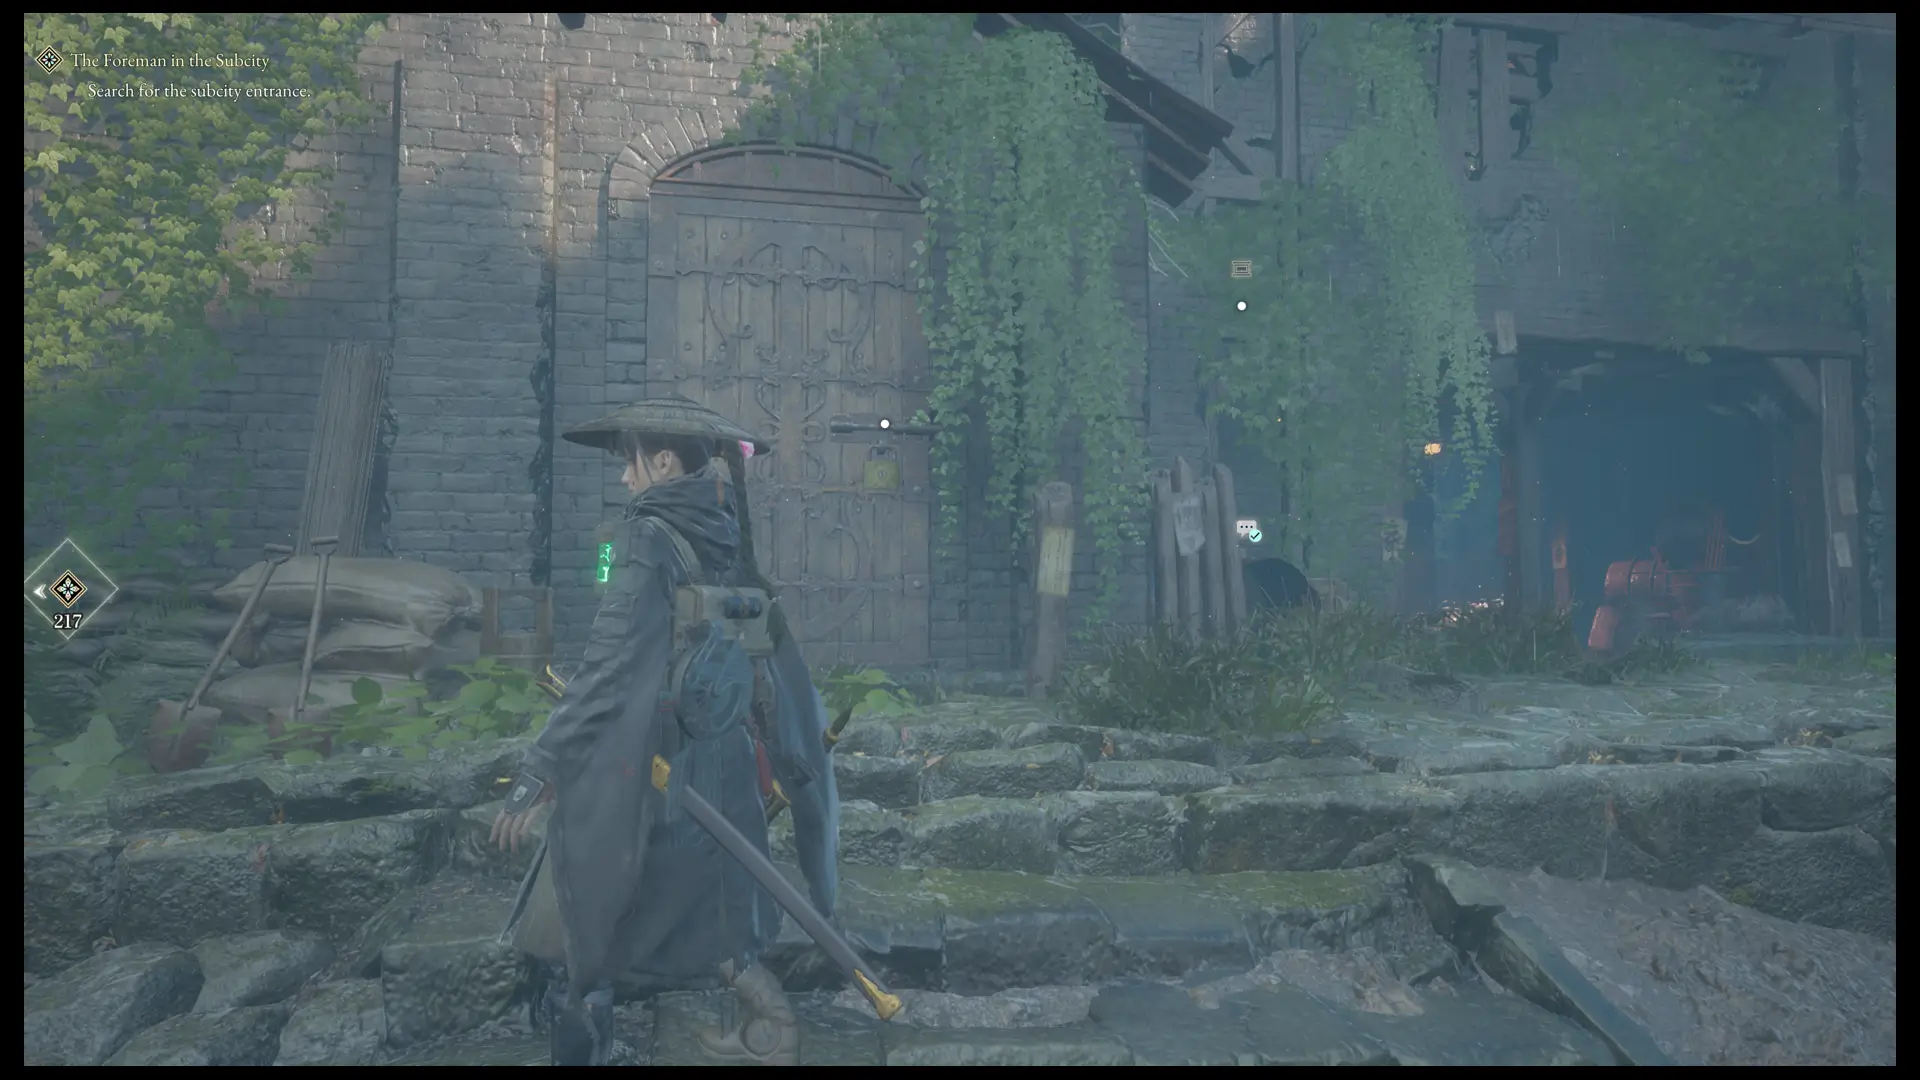
| Subcity 01 Main Hall Locked DoorOgouchi Buffer Zone | Ogouchi Buffer Zone | The first Subcity 01 Locked Door is found in the back of the large hall of the underground facility. It opens automatically after you destroy the 6 droids in the first hall while looking for the foreman. | ||
| Subcity 01 Storage Room Locked DoorOgouchi Buffer Zone | Ogouchi Buffer Zone | The second Subcity 01 Locked Door is found in the back of the small area leading to the storage room. It unlocks after you defeat the Elite Enemy. | ||
| Lower Quarry Cave EntranceOgouchi Buffer Zone | Ogouchi Buffer Zone | Found halfway up the hill. Get inside to find the elevator that allows you to move further up the hill. | ||
| Upper Quarry Cave EntranceOgouchi Buffer Zone | Ogouchi Buffer Zone | Found on the hill. Get inside to continue your exploration and fight the Elite Enemy. | ||
| Subcity 02 Storage Room Locked DoorOgouchi Buffer Zone | Ogouchi Buffer Zone | Found in the back of the large cave, in the upper section. To unlock the door, deal with the two corrupted stags in front of it. | ||
| BulkheadAncient Civilization Zone | Ancient Civilization Zone | Found along the ravine, on the southern side of the Ancient Civilization Zone. You can open it using the Control Panel on the northern side of the ravine. | ||
| BulkheadAncient Civilization Zone | Ancient Civilization Zone | Found along the ravine, on the southern side of the Ancient Civilization Zone. You can open it using the Control Panel on the northern side of the ravine. | ||
| BulkheadAncient Civilization Zone | Ancient Civilization Zone | Found at the end of the canyon, next to the Nushi's Lair Entrance. To open the Bulkhead, use the control panel on the left side of the large gate; however, be advised that once you do that, you'll have to deal with Lacerta a second time. | ||
| Cave EntranceOgouchi Buffer Zone | Ogouchi Buffer Zone | Found by the pond in the crates and used by Rangifer to escape. | ||
| Cave EntranceOgouchi Buffer Zone | Ogouchi Buffer Zone | Found close to the top of the hill. Make sure you check this cave to find another Keeper Golem inside the cave. | ||
| Tunnel EntranceOgouchi Buffer Zone | Ogouchi Buffer Zone | Found at the end of the trench. Follow the tunnel to get to the northern clearing. | ||
| Tunnel EntranceOgouchi Buffer Zone | Ogouchi Buffer Zone | Found in the clearing. Follow the tunnel to get to the southern trench. | ||
| BulkheadThe Great Wall Terraces | The Great Wall Terraces | Found along the southern Great Wall Terraces river. To open the large gate, activate the control panel on the left side. | ||
| BulkheadAncient Civilization Zone | Ancient Civilization Zone | Found on top of the ramp. To open it, you have to activate the Water Tank Control Panel (objective-related). | ||
| Tunnel EntranceAncient Civilization Zone | Ancient Civilization Zone | Found on the eastern side of the river. From the Raging River Campsite, turn east and advance along the southern shore to spot it. | ||
| BulkheadPilgrim's Zone | Pilgrim's Zone | Found inside the cave on the southeastern side of the Pilgrim's Zone. Go through to progress the story. | ||
| Abandoned Cliff Village Cave EntranceAncient Civilization Zone | Ancient Civilization Zone | Found next to the Abandoned Cliff Village: Entrance Campsite, on the western side of the Raging River. | ||
| Northern Tunnel Ruins DoorAncient Civilization Zone | Ancient Civilization Zone | Found on the lower side of the mountain. The door is unlocked, and you'll reach it as you progress through Emma's story. | ||
| Tunnel DoorAncient Civilization Zone | Ancient Civilization Zone | Found in the large room, where you meet Kunai. Look for it on the lower level. The door unlocks after you defeat the large Samurai Golem and after you speak to Kunai. | ||
| Tunnel EntranceAncient Civilization Zone | Ancient Civilization Zone | Found near the Platform Entrance Campsite. Note: Make sure you head inside only after you loot the Rusted Golem nearby. | ||
| Reservoir Gate B1-4Ancient Civilization Zone | Ancient Civilization Zone | The Reservoir Gate B1-4 is found in the central area of the Ancient Civilization Zone, where you get to meet the Ancient Golem Merchant. Opening it is part of your mission, and you can do it by activating Generator 1 and Generator 2. Once these two are active, pull the lever by the gate. | ||
| Reservoir Tunnel EntranceAncient Civilization Zone | Ancient Civilization Zone | Found at the end of the corridor past the Reservoir Gate B1-4. You'll access it after starting the two Generators (story-related). | ||
| Underground Reservoir TunnelAncient Civilization Zone | Ancient Civilization Zone | Found in the large clearing of the underground Reservoir. The tunnel is used by Lacerta to escape. Defeat Lacerta the first time to be able to access it. | ||
| Reservoir Control Room PassageAncient Civilization Zone | Ancient Civilization Zone | Found in the underground Reservoir, the Control Room Passage can be accessed after fighting Lacerta the first time. | ||
| Pipe EntranceAncient Civilization Zone | Ancient Civilization Zone | Found on the ground alongside the canyon. Make sure you check the area behind it. | ||
| Cave EntrancePilgrim's Zone | Pilgrim's Zone | Found by following the path. Head inside the cave to reach an Enemy Lair and progress the story. | ||
| Breakable Wooden WallPilgrim's Zone | Pilgrim's Zone | Found by following the mission marker inside the cave. Shoot the oil jug to destroy the wall so you can progress. | ||
| Breakable Wooden WallPilgrim's Zone | Pilgrim's Zone | Found by following the mission marker inside the cave. Go through the crawl space with the candles and shoot the oil jug to destroy the wall so you can progress. | ||
| Crawl SpacePilgrim's Zone | Pilgrim's Zone | Found next to some wooden beams in the cave. Go through to reach a hidden area with some extra loot. | ||
| Cave EntranceAncient Civilization Zone | Ancient Civilization Zone | Found on the upper side of the canyon. After collecting the Iron Box on the upper western plateau, head east to spot it. | ||
| Mountain Overlook Locked GateThe Great Wall Terraces | The Great Wall Terraces | Found halfway up the western hill. The gate opens from the western side, but you'll need to solve a small puzzle:
| ||
| Maze of Sin EntranceThe Great Wall Terraces | The Great Wall Terraces | The Entrance to the Maze of Sin is blocked by a weak wall you can destroy by shooting the explosive jar in the lower left corner. | ||
| Weak WallThe Great Wall Terraces | The Great Wall Terraces | Found on top of the stairs in the second room of the Maze of Sin. To remove the wall, shoot the explosive jar through the space between the stone columns on the other side of the blocked passage. | ||
| Nushi's LairPilgrim's Zone | Pilgrim's Zone | Found on the northern side of the Pilgrim's Zone. To get through, you must first strike the bell in the Belfry. But proceed with caution because you will have to fight Taurus a second time. | ||
| Subcity of Flowers EntranceThe Great Wall Terraces | The Great Wall Terraces | Found in the facility northeast of Flower Square: Forefront Campsite, the Entrance to the Subcity of Flowers grants access to the underground area in the eastern Great Wall Terraces. Rotate the lever to open the hatch. | ||
| Hidden Stone Hall Cave EntranceThe Great Wall Terraces | The Great Wall Terraces | The Hidden Stone Hall Cave entrance is found on the western side of the river in the northern Great Wall Terraces. Look for it by the Hidden Stone Hall Campsite. | ||
| Cave EntrancePilgrim's Zone | Pilgrim's Zone | Found on the ground level, east of the Stone Chamber. Make sure you explore the cave before moving to the next region. | ||
| BulkheadFuji Frontier Zone | Fuji Frontier Zone | Found next to the fallen walker on the other side of the gap as you progress. You can open the Bulkhead using the nearby Control Panel. | ||
| BulkheadFuji Frontier Zone | Fuji Frontier Zone | Found in the red lit area on the other side of the gap as you progress. You can open the Bulkhead using the nearby Control Panel. | ||
| Breakable WallFuji Frontier Zone | Fuji Frontier Zone | Found on the main path in the cave. You can get over it, or shoot an arrow at the oil jug to destroy it. | ||
| Breakable WallFuji Frontier Zone | Fuji Frontier Zone | Found on the main path in the cave. Shoot an arrow at the oil jug on the upper platform to destroy the wall. | ||
| Breakable WallFuji Frontier Zone | Fuji Frontier Zone | Found on the main path in the cave. You must go around it with the help of the pipe to the left and shoot an arrow at the oil jug to destroy it. | ||
| Breakable WallFuji Frontier Zone | Fuji Frontier Zone | Found next to a ballista on a ledge on the main path. Shoot an arrow at the oil jug to destroy the wall and follow the path to reach some bonus loot. | ||
| BulkheadGiant Tree Zone | Giant Tree Zone | Found in the middle of the Giant Tree Zone while heading to the Giant Tree. You can open the Bulkhead using the Control Panel next to it after obtaining the Giant Tree Key. | ||
| Cave EntranceFuji Frontier Zone | Fuji Frontier Zone | Found halfway up the mountain wall, near the large statue on the eastern side of the area. Use the crane on the wooden platform to ascend. | ||
| BulkheadCrater Zone | Crater Zone | Found on the northern side of the region. The Bulkhead is unlocked by activating the second Control Panel on top of the platform in the middle of the reactor. | ||
| Cave EntranceCrater Zone | Crater Zone | Found halfway up the mountain wall. Make sure you discover it and head inside. | ||
| Cave EntranceCrater Zone | Crater Zone | Found inside the tent at the base of the mountain wall. Make sure you don't miss it, and explore the underground area. | ||
| Fortress in the Crater EntranceCrater Zone | Crater Zone | Found on the lower level of the reactor. Head inside to continue Emma's story. | ||
| Tunnel EntranceCrater Zone | Crater Zone | Found behind the yellow container in the large cave. Look for the container in front of the two large Golems. | ||
| Tunnel EntranceCrater Zone | Crater Zone | Found behind two containers in the large cave with the two inactive Golem brutes. | ||
| Tunnel EntranceCrater Zone | Crater Zone | Found on the wall of the first round room of the fortress. Look for it when you start climbing the metal ramps with the golem archers. | ||
| Tunnel EntranceCrater Zone | Crater Zone | Found on the upper side of the hill. Make sure you explore the tunnel behind. |

© MapMaster.io 2024. All rights reserved.