Control Resonant Secret Hideouts and Puzzle Solutions
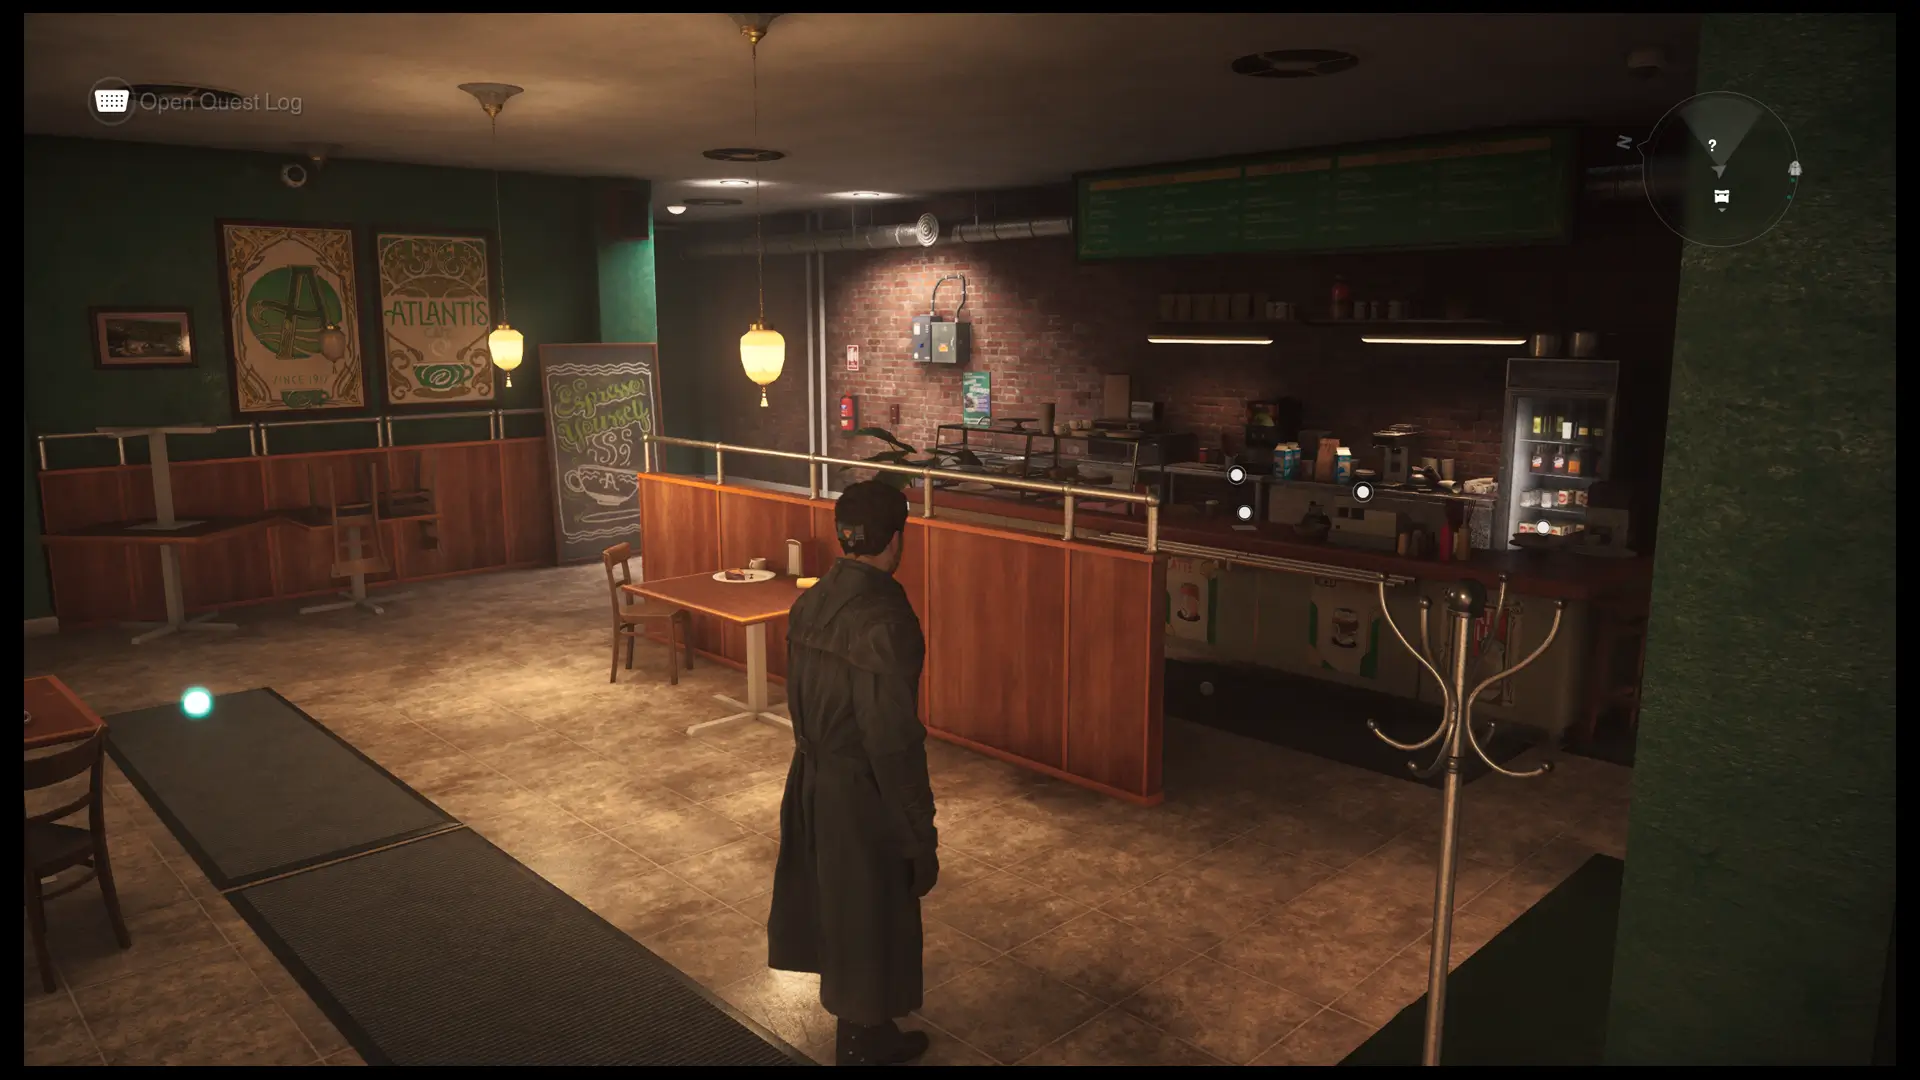
Control Resonant has 6 Secrets, puzzle rooms inside ordinary shops that open a Secret Hideout with a Health Upgrade Point behind or below it. There’s one in each zone except the Underpass and the Watchtower, and every puzzle starts from a note found in the same shop. In the sequel first teased as Control 2, the Downtown map of the northern Atlantis Cafe has the first one you can reach.
Vlad Susanu, Map Master’s mapper and chief editor, solved all six and pinned each shop, and the Control Resonant upgrade and puzzle maps link every zone. Rather than repeat each solution, here’s how the puzzles work, what you need to get in, and what the basements give.
Secret Hideout Rewards: Six Health Points and Backroom Espionage
Every Secret ends in a crate with a Health Upgrade Point, so the six cover half of the 12 that Personal Development asks for, and three points make one full upgrade. They cost no Source, and the Control Resonant Health point checklist groups them with the Vendor crates as the cheapest route to that trophy.
Solving the sixth puzzle unlocks Backroom Espionage, the Secret Hideout trophy, so it pops before you even step into that last basement. Go down and open the crate anyway, since the Health point is what makes Dylan tougher, and it counts toward Personal Development on its own.
How to Solve Secret Puzzles: Order, Pattern, and Code
Every puzzle starts with a note in the shop, and the note tells you how to read the room. Downtown’s and the Unknown’s are order puzzles, where you switch on appliances or gym machines in a set sequence. Central’s and the Evacuation Zone’s are pattern puzzles, matching a grid of washers or four lit paintings to what the note describes.
Two Secrets end at a cash register. The West Incursion Zone’s wants a number read from a soda dispenser’s lights and entered in reverse, and The Park’s wants letters from the Coffee Menu in the order of the week’s table reservations. If a register refuses your code, check the order before the characters, since both puzzles hinge on it.
How to Get Into Each Secret Hideout: Locations and Requirements
Two Secrets need something before you can start. A barrier blocks Central’s Dry Cleaning until you destroy three growths outside, and the Central map of the eastern laundromat points you to the door. The Unknown’s Pulse Fitness gym can only be reached with Shift, so it usually comes last, and the Unknown map of the central gym block places it.
The other four only need you inside the shop. The Evacuation Zone map of Charlie Meecham’s gallery and the West Incursion Zone map of the southern Urban Fresh Mart cover two of them, and the Park map of the southeastern Atlantis Cafe has the third. Downtown’s is the fourth, and it’s open from your first hours in Manhattan.
Secret Hideout Clues and the Unknown Basement’s Files
The clues count toward another set. Becky’s opening instructions and the Power Switch in Downtown, Central’s Customer Note, and The Park’s Table Reservations and Coffee Menu are all part of the Key Item notes behind each hideout, so solving a Secret also ticks off its clues. Read every note in a shop before touching anything, because each answer comes from the clue rather than trial and error.
The Unknown’s basement also has files from the shadow organization watching the FBC, part of the Secret Organization documents, so search that room fully. Every Health point is in one of the Large Resource Crates from Secret Hideouts, and Central’s is in the hideout’s bedroom.
Secret Hideout Locations: 6 Puzzles, 6 Health Points
There are 6 Secrets: one each in Downtown, Central, the Evacuation Zone, the West Incursion Zone, The Park, and the Unknown. Four only need the note in the shop, Central needs its growths cleared, and the Unknown needs Shift, so plan that one for your last trip through the zone.
Every Secret stays solvable after the credits, so a shop you skipped waits for your cleanup run. Two cash register codes, two order puzzles, and two pattern puzzles stand between you and six Health points, two full Health upgrades, and Backroom Espionage, all for no Source at all.
| Name | Map Location | Details | Found |
|---|---|---|---|
| Evacuation Zone Könstig Museum SecretEvacuation ZoneEvacuation Zone Könstig Museum Secret | Evacuation Zone | Found in the central area of the Evacuation Zone, the Secret requires you to solve a small puzzle in Charlie Meecham Art Gallery. Start by reading the Paintings Sold Note on the front desk. You'll see a list of four paintings with the following titles: Journey, Windows, Thunder, Tides. Now, to solve the puzzle, you have to use the switches on the gallery's columns to light the paintings depicting the titles of the paintings.
After you solve the puzzle, head to the back room to find a secret door that is now open. | |
| West Incursion Zone Urban Fresh Mart SecretWest Incursion ZoneWest Incursion Zone Urban Fresh Mart Secret | West Incursion Zone | Found on the southern side of the West Incursion Zone, the Secret requires you to solve a small puzzle. Start by reading the Reversed Drink Order Note and the Soda Dispenser Debate Note. Now, to solve the puzzle, you'll need to complete two easy steps:
After you solve the puzzle, head to the back room to find a secret door that is now open. | |
| Pulse Fitness SecretUnknownPulse Fitness Secret | Unknown | Found in the central area of the Unknown, the Pulse Fitness Secret requires you to reach the gym location using the Shift Ability. Once inside, start by reading the Workout Instructions. Now, to solve the puzzle, you'll have to follow 5 steps in a specific order:
After you solve the puzzle, head to the back room to find a secret door that is now open. | |
| Atlantis Cafe SecretDowntownAtlantis Cafe Secret | Downtown | Found in northern Downtown, the Secret requires you to solve a small puzzle. Start by reading Becky's Shop Opening Instructions on the counter of the cafe, then turn on the power switch on the wall behind the counter. Next, activate the following appliances in the exact same order:
Now head through the secret door that opens to enter the secret basement. | |
| The Park Atlantis Cafe SecretThe ParkThe Park Atlantis Cafe Secret | The Park | Located on the southeastern side of The Park, the Atlantis Cafe Secret requires you to solve a small puzzle. Start by reading the Table Reservations and the Coffee Menu on the counter. Now, to solve the puzzle, you'll need to complete these steps:
After you solve the puzzle, head to the back room to find a secret door that is now open. | |
| Wear'em & Wash'em Dry Cleaning Laundry SecretCentralWear'em & Wash'em Dry Cleaning Laundry Secret | Central | Found on the eastern side of Central Manhattan, the Secret requires you to solve a small puzzle. Start by reading the Customer Note and the Laundry Puzzle Note. Now, to solve the puzzle, the first thing you'll want to know is what 1 and 0 mean. 1 means ON, 0 means OFF. While facing the door, as in our screenshot above, keep the Laundry Puzzle Note marker activated and head to the first row of laundry machines by the wall on the right side (east). The row of laundry machines corresponds to the first row on the note (from top to bottom). On the note, the row shows 0001000, which means you need to turn on the laundry machine. Keep moving to all rows and follow the numbers on the note; however, be advised that the row of laundry machines by the western wall (left side) is split in two. The row closest to the window facing the street is, in fact, the last row on the note (100000). After you solve the puzzle, head to the back room to find a secret door that is now open. |

© MapMaster.io 2024. All rights reserved.