Control Resonant Living Shards: Free Sources and Vendor Prices
Control Resonant has 33 Living Shards per playthrough: 18 come free from the story, Faults, and quests, and 15 are bought from Vendors. They’re the only currency for new Aberrant Forms, Combo Finishers, and the last skill upgrades, and they can’t be farmed, since our data shows no repeatable source. In a sequel fans followed for years as Control 2, the Downtown map of the Oldest House start has the most, nine, including four handed over at the very beginning.
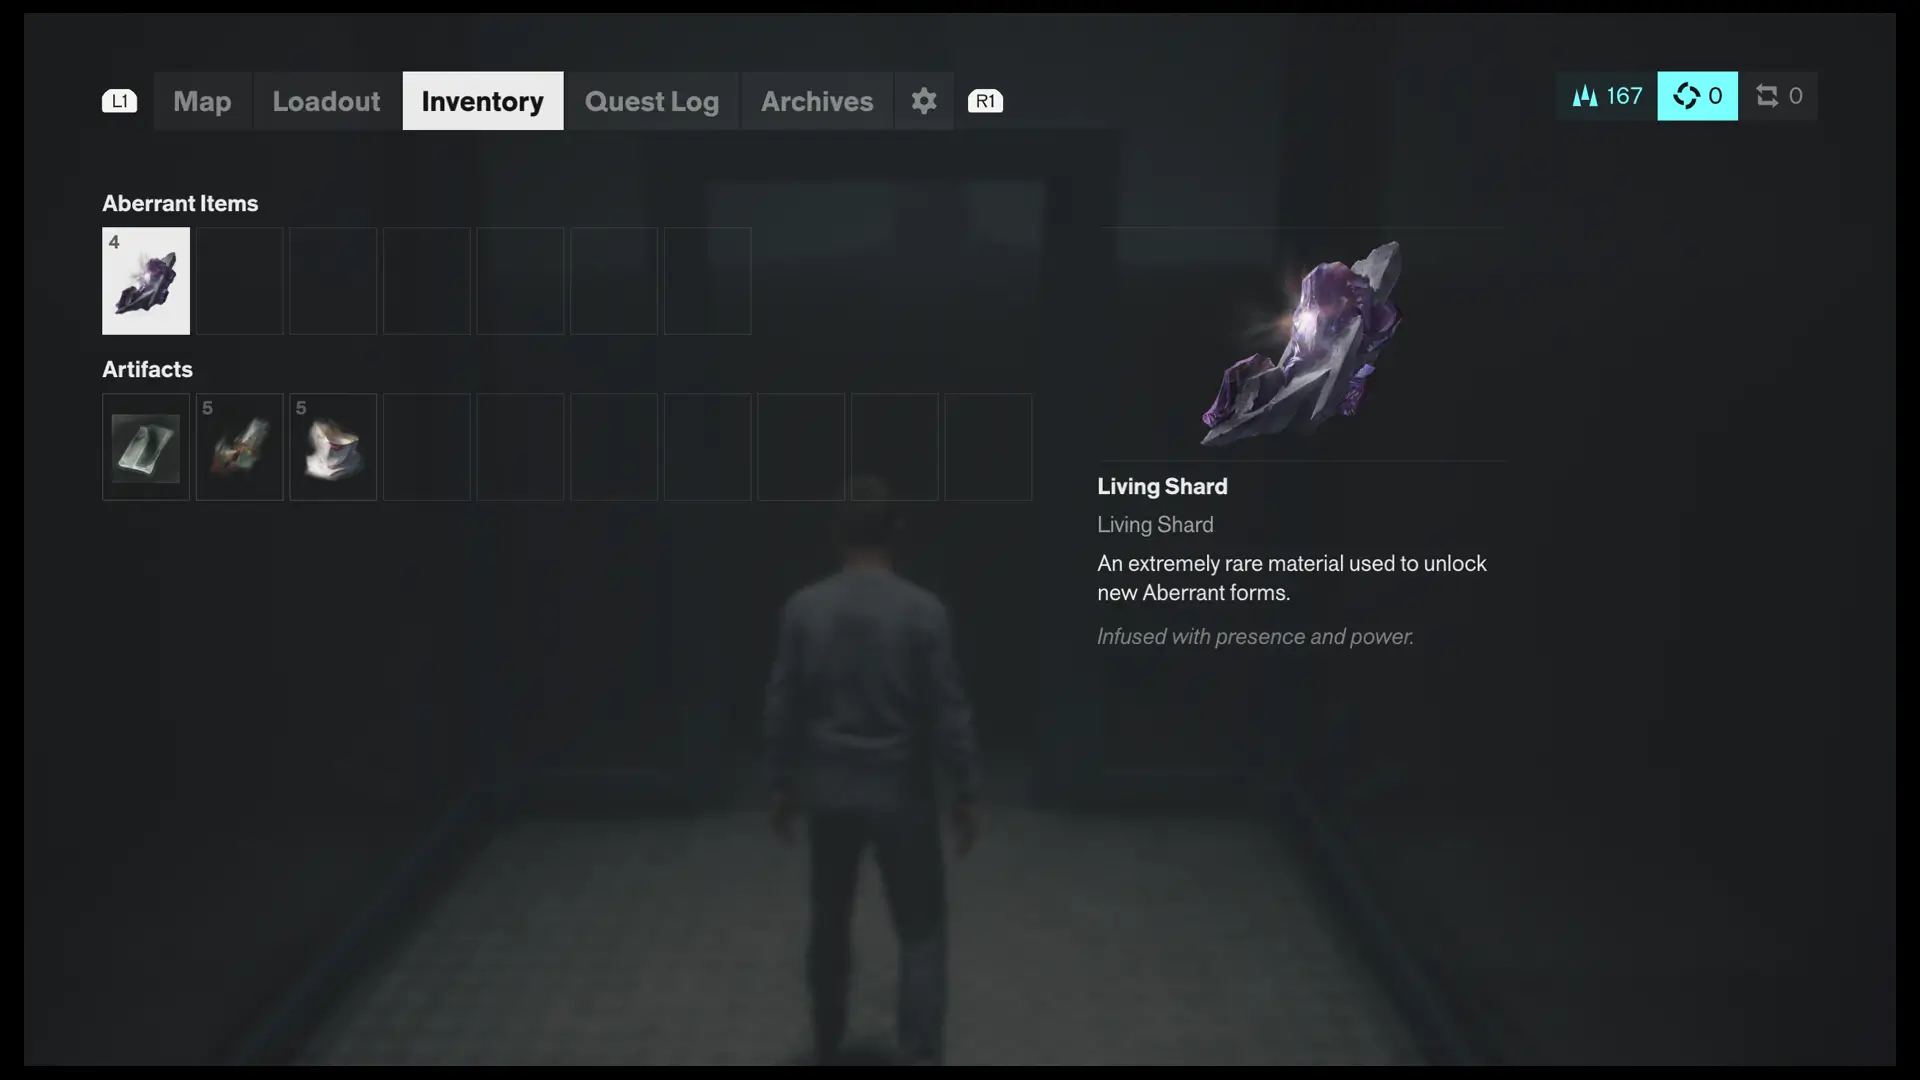
Map Master’s chief editor and mapper, Vlad Susanu, recorded every shard source on his run, and the Control Resonant 100% route map ties them to the rest of the game. Each source is in the list below. The real questions are how many you get for free, what buying the rest costs, and where to spend them first.
What Living Shards Are For: Aberrant Forms, Combo Finishers, and Final Upgrades
Shards are spent at the Gap, never on crafting. Unlocking a new Aberrant attack costs up to three, and the final upgrade in a skill tree takes another one or two. Your first Primary and Secondary forms are free, which leaves four locked forms plus the Combo Finishers competing for the same supply.
Put your first shards into the Secondary form you passed on. Secondaries are the forms that stagger enemies, and that pays off most in boss fights. The Aberrant Form unlock costs compare all six forms, so you can decide which ones deserve their final upgrades before the supply runs out.
How to Get Living Shards for Free: Story Missions and Faults
Eighteen shards cost nothing. Four arrive at the start, one follows the Artist, and one comes with the Level 1 Keycard in Welcome to Manhattan. Each of the three Faults pays one, and the Evacuation Zone map of the Evac Building is where the first of them, The Subway Fault, begins.
Missions add the rest. Evacuation Procedures and Into the Sinkhole pay one each, the Central map of the Power Lines stations traces the quest that pays another, and the Underpass map of the Research Sites follows Recursions and Iterations to one more. The House in Distress also pays one, alongside the Dr. Darling files from The House in Distress.
Buying Living Shards: Seven Vendors at 4,000 Source and One Discount
All seven zone Vendors sell two, at 4,000 Source each, with the second unlocking as the zone levels up. The Vendor stock by zone shows where each van is, and the Park map with the parking garage Vendor marks the van selling the only two shards in that zone.
One shard costs half price. A Vendor on the 15th floor of the Evac Building sells one for 2,000 Source, so buy that one first. Buying all 15 costs 58,000 Source, so spread the purchases across your visits, and the West Incursion Zone map with the Vendor van shows that zone’s van in the parking lot north of the garage.
The Last Living Shards: The Unknown and the Final Missions
Five shards wait in the Unknown. Sever the Hedron Links, Rebuild, and Fight to the Core pay one each, and the Unknown Vendor sells two, all reachable from the Unknown map of the Patterned Field Office. The Hedron Link quest adds one more back in Downtown, so the final hours give six shards in total.
That timing matters. Four of the 18 free shards come from the final missions, so an early form that doesn’t click isn’t a lasting mistake: the late rewards refill the supply, and Reset Items let you undo a form’s upgrades.
Living Shard Totals: 33 per Playthrough
There are 33 Living Shards: nine in Downtown, six in the Evacuation Zone, five in the Unknown, four each in Central and the Underpass, three in the West Incursion Zone, and two in The Park. Eighteen are free, and 15 are bought, and the Watchtower has none.
None are missable, because every mission reward lands when you finish it and every Vendor stays open after the credits. If you’re short of Source, the free 18 are enough to unlock the four locked forms, with shards to spare for a few finishers.
| Name | Map Location | Details | Found |
|---|---|---|---|
| Living Shard x1Evacuation ZoneLiving Shard x1 | Evacuation Zone | One Living Shard is obtained automatically after completing The Subway Fault Main Quest in the Evacuation Zone. | |
| Living Shard x2Evacuation ZoneLiving Shard x2 | Evacuation Zone | Two Living Shards can be purchased from the Evacuation Zone Vendor for 4000 Source per unit. | |
| Living Shard x1Evacuation ZoneLiving Shard x1 | Evacuation Zone | One Living Shard is obtained as a reward for saving Arish from the Evac Building and completing the Evacuation Procedures Main Quest. | |
| Living Shard x2DowntownLiving Shard x2 | Downtown | Two Living Shards can be purchased from the Downtown Vendor for 4000 Source per unit. | |
| Living Shard x1DowntownLiving Shard x1 | Downtown | One Living Shard is obtained as a reward for completing The House in Distress Quest. | |
| Living Shard x1DowntownLiving Shard x1 | Downtown | One Living Shard comes as a reward for completing The Hedron Link Quest. | |
| Living Shard x2West Incursion ZoneLiving Shard x2 | West Incursion Zone | Two Living Shards can be purchased from the West Incursion Zone Vendor for 4000 Source per unit. | |
| Living Shard x1West Incursion ZoneLiving Shard x1 | West Incursion Zone | One Living Shard is automatically obtained after you complete the Incursion Fault quest. | |
| Living Shard x2UnknownLiving Shard x2 | Unknown | Two Living Shards can be purchased from the Unknown area Vendor for 4000 Source per unit. | |
| Living Shard x1UnknownLiving Shard x1 | Unknown | One Living Shard comes as a reward for completing the Sever the Hedron Links Main Quest. | |
| Living Shard x1UnknownLiving Shard x1 | Unknown | One Living Shard is rewarded for completing the Rebuild Main Quest. | |
| Living Shard x1CentralLiving Shard x1 | Central | One Living Shard is obtained as a reward for completing the Power Lines Quest. | |
| Living Shard x1UnknownLiving Shard x1 | Unknown | One Living Shard comes as a reward for completing the Fight to the Core Main Quest. | |
| Living Shard x1Evacuation ZoneLiving Shard x1 | Evacuation Zone | One Living Shard is obtained as a reward for completing the Into the Sinkhole Quest. | |
| Living Shard x2UnderpassLiving Shard x2 | Underpass | Two Living Shards can be purchased from the Underpass Vendor for 4000 Source per unit. | |
| Living Shard x1UnderpassLiving Shard x1 | Underpass | One Living Shard is obtained after completing the Recursions and Iterations quest in the Underpass. | |
| Living Shard x1UnderpassLiving Shard x1 | Underpass | One Living Shard is obtained automatically by completing The Underpass Fault. | |
| Living Shard x4DowntownLiving Shard x4 | Downtown | Four Living Shards are automatically obtained at the start of the game. | |
| Living Shard x1Evacuation ZoneLiving Shard x1 | Evacuation Zone | One Living Shard can be purchased from the Evacuation Zone Vendor on the 15th floor of the EVAC Building for 2000 Source. | |
| Living Shard x1DowntownLiving Shard x1 | Downtown | One Living Shard is automatically obtained after defeating the Artist boss in Downtown at the end of the Orientation Main Quest. | |
| Living Shard x1CentralLiving Shard x1 | Central | One Living Shard is obtained as a reward for retrieving the Level 1 Security Keycard and completing the Welcome to Manhattan Main Quest. | |
| Living Shard x2The ParkLiving Shard x2 | The Park | Two Living Shards can be purchased from the Park Vendor for 4000 Source per unit. | |
| Living Shard x2CentralLiving Shard x2 | Central | Two Living Shards can be purchased from the Central Vendor for 4000 Source per unit. |

© MapMaster.io 2024. All rights reserved.